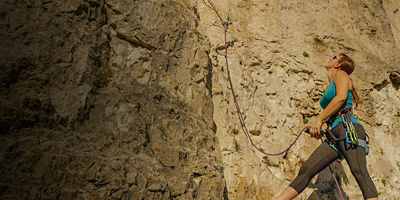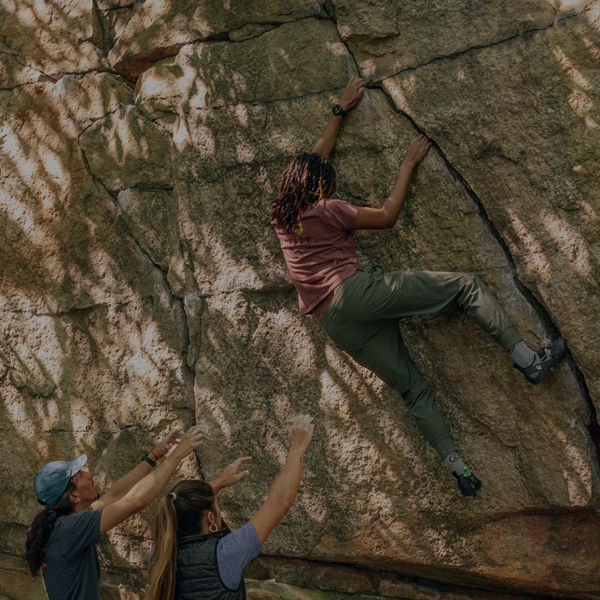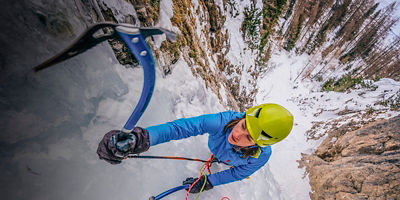
Maybe you’ve been at the climbing gym or crag and watched climbers delicately pick their way up long overhanging routes, nearly upside down, moving one foot at a time with perfect control as if gravity didn’t exist. The secret isn’t Spidey senses, or even insane finger strength (though that certainly helps). It’s core strength.
When you’re climbing, your core—your abs, lower back, obliques, and glutes—hold you on the wall by maintaining tension between each of your limbs. If your core slackens and your hips sag away from the wall, they pull the rest of your body with them. But if you have the strength and control to keep your core tight throughout a sequence of movements, you’ll find you’re able to grab holds with more accuracy, move more efficiently, and stay on steep routes for longer.
To get there, you need a core workout for building climbing-specific strength, with some pointers below for leveling up if you want to make things harder. You can do all three sets of one exercise before moving to the next, or cycle through them one set at a time. For best results, perform the circuit at least three days a week, either on its own or after a climbing session.
Hanging Raises
Sequence
3 sets of 6 to 8 reps, with 1 minute of rest between each set. Start with the Level 1 variation of this exercise. When you can do 10 reps with ease, progress to the next level.
Equipment: Pull-up bar
Level 1: Hanging Knee Raises
Hold onto the pull-up bar, palms facing forward, hands shoulder-width apart. Keeping your arms straight and shoulders engaged, lift your knees until they form a 90-degree angle and your thighs are roughly parallel with the ground. Hold for one second, then lower slowly back to the starting position.
Level 2: Hanging Leg Raises
Assume the same starting position as Level 1. Without bending your knees, hinge at the hips to lift your legs until they’re parallel to the floor (they should form a right angle to your trunk). Hold for one second before slowly lowering your legs to the starting position. Pause here before your next rep—that way you won’t accidentally use momentum to swing your legs back up.
Level 3: Toes to Bar
Assume the same starting position as levels 1 and 2. Without bending your knees, hinge at the hips to lift your legs until your toes touch the pull-up bar. Be careful to keep your arms and back straight throughout, and avoid leaning your neck or shoulders backward to rock your legs up. At the top of the movement, hold for one second before slowly lowering. Then pause at the bottom of the movement before beginning the next rep.
Ab-Wheel Rollouts
Sequence
3 sets of 10 to 15 reps on each side, with 1 minute of rest between each set. Start with the Level 1 variation. When you can do 15 reps with ease, level up.
Equipment: Ab wheel
Optional: Yoga mat
(Note: If you don’t have an ab wheel, you can simulate this exercise with TRX bands or gymnastics rings: Grip one handle in each hand, palms facing toward you, and keep your hands shoulder-width apart for the duration of the exercise.)
Level 1: Ab-Wheel Rollouts from Knees
Grip both handles of the ab wheel and assume a table-top position with your knees on the floor (cushion them with a yoga mat if needed). Roll the wheel forward until your trunk and thighs form a straight line that’s about a 45-degree angle with the floor. Your arms should extend straight down, with your wrists straight and hands stacked beneath your shoulders. This is your starting position.
Now, round your back and roll the ab wheel forward, keeping your wrists straight and pushing through your shoulders, until your nose just touches the ground. Then use your lats and lower core to pull the ab wheel back to the starting position, being careful to hinge at the shoulders and not at the hips. Your back and thighs should remain straight and in-line, and your shoulders should stay rounded throughout. Stop when your arms are again stacked straight under your shoulders and your thighs are at about a 45-degree angle to the floor. (Roll back any farther than that, and you’ll be in a restful position, which limits the effectiveness of the exercise.)
Level 2: Standing Ab-Wheel Rollouts
From a standing position, grip both handles of the ab wheel and hinge forward to place it on the floor in front of you. Your legs and arms should both be straight and perpendicular to the floor. Roll the wheel forward slowly, keeping your back and core engaged and your shoulders rounded, until your body is in a plank position, your back is flat, and your arms are fully extended in front of you. Engage your core to roll back to the starting position. (Note: You may only be able to do one or two of these when you begin. Start with 3 sets of 1 rep. Add more reps as you’re able, while maintaining good form.)


