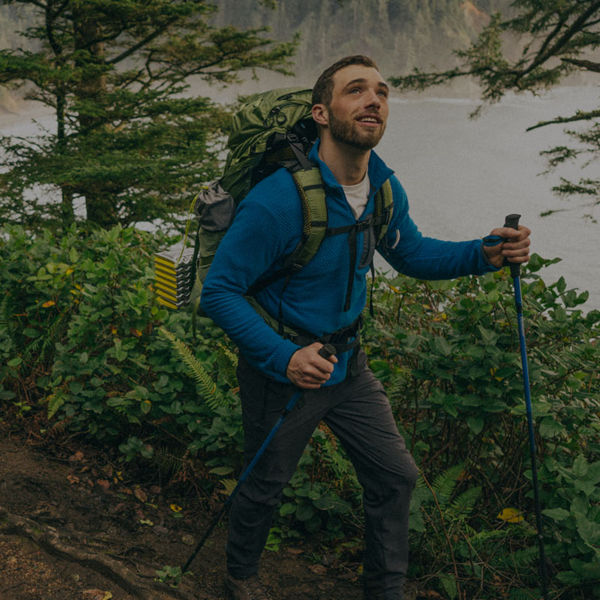
5 Key Exercises to Get Prepped for Hiking

Do these moves to help ward off injury and feel great on the trail.

If you avoid training because you think it takes too much time or an expensive gym membership, we’re here to change your mind. These five exercises are fast to do, can be done at home, and can make a massive difference in how you feel out on the trail.

Strength training with the following exercises can help you negotiate all kinds of terrain. Stronger glutes and quads will help you power up hills and cruise long descents. And overall strength and core stability will help you conquer rocky trails and log crossings with confidence. Training also helps with injury prevention, and can reduce soreness after hiking, helping you cover more distance day after day. 

Here are some key moves to get you trail-ready.

Step-Ups

Step-ups mimic, well, stepping up—a crucial motion for hiking uphill. Don’t rush through the reverse part of this exercise, either: stepping down with control is an eccentric motion that strengthens the tendons in your hips to help ward off injury, and the impact created when your landing foot hits the ground strengthens your lower leg and foot.

Muscles strengthened: Quadriceps, hamstrings, calves, hip flexors, glutes, back/posterior chain.

How to do step-ups: Stand in front of a stair, a small stool, a box intended for step-ups, or a low, flat bench. You can use any strong, stable surface as long as it’s at least 6 inches high. (This is a good height to start with, but you can progress to something as high as 24 inches over time.) Stand with both feet flat on the ground and your hands on your hips. This helps keep your upper body steady so you can focus on working your lower body. Start by standing a few inches from the platform. Step up onto the platform, planting your foot entirely on the step. (Your knee should remain over and in line with your ankle throughout the exercise.) Then step up with your other foot, planting it beside your lead foot. Stand tall with legs straight before stepping down first with the leading foot, then with your other foot. Alternate your lead foot with each step.

How many: Start with three sets of 5 to 10 steps per foot, depending on your current fitness level. Level-up by increasing the height of the step, or by adding a 5- to 10-pound dumbbell to each hand.

Standing Lunges

Lunges mirror the motion of hiking downhill, especially on steep slopes.

Muscles strengthened: Quadriceps, hamstrings, calves, hip flexors, core.

How to do lunges: Start standing with your feet together and your hands on your hips to keep your upper body stable. Step forward with one foot, planting it on the ground in front of you. The distance you step should allow your front knee to bend such that it’s directly over your front foot. (Make sure your knee doesn’t extend past your toes, which can stress everything from your knees to your lower back.) Then, sink into your stance, lowering your back knee until it just touches the ground, trying to keep your hips even with each other by contracting the muscles in your abdomen. Push off your front foot to return to standing with your feet together. Then, step forward with your other leg and repeat. Alternate your lead foot with each step.

How many: Start with three sets of 5 to 10 lunges per leg, progress to three sets of 20 per leg, then three sets of 30, etc.

A woman holds a lunge in her home on a yoga mat

Dumbbell Shoulder Squats

The squat movement, weighted or unweighted, strengthens the major muscles of your lower body, back, and core. Adding the weight of dumbbells, which you’ll hold on your shoulders in a front squat position, helps prepare you to carry the load of a backpack.

Muscles strengthened: Glutes, quadriceps, hamstrings, back/posterior chain, adductors, hip flexors, core.

How to do dumbbell shoulder squats: Keeping your back flat and chest elevated, bend your knees to lower down and pick up one dumbbell in each hand. (Start light with 3- to 10-pound dumbbells, depending on your current fitness level.) If you’ve been taught how to properly ”clean” the dumbbells so they’re resting lightly on top of your shoulders, move the weights from the floor to your shoulders in one move. If you haven’t been taught, stand tall with the weights in your hands at your sides, engage your core, and bring them to rest lightly on your shoulders by doing a bicep curl with the front/end of the weight facing the front of the room. With your feet hip width apart, engage your core for stability and lower to a squat position while keeping your knees pointed outward, your chest elevated, and the weights supported—keep your elbows pointing forward. Initiate the squat by first extending your rear-end backwards, and then lower yourself until your rear-end is at least even with your bent knees to create a 90-degree angle between them. (Throughout, imagine sitting back into a chair—try to keep your weight over your heels, and make sure your knees don’t extend forward of your toes.) Return to standing tall.

How many: Start with three sets of 10 unweighted air squats to perfect form. Then progress by gradually adding weight in small increments, like 3-pound dumbbells in each hand, then 5-pound dumbbells, etc.

Farmer's Carry

Farmer’s carries are functional core-strengthening exercises that involve carrying weight—like dumbbells—as you walk. This helps you prepare your entire body for the weight of a backpack. The farmer’s carry also builds cardiovascular endurance.

Muscles strengthened: Calves, quadriceps, hamstrings, glutes, upper back, erectors (the muscles on either side of your spine), core, traps, lats, forearms, hand muscles. 

How to do a farmer’s carry: The goal is to select dumbbells that feel challenging to hold onto after about 15 to 20 steps—15 to 25 pounds in each hand is a good range to start with, but it’s not uncommon to work up to 30 to 50 pounds in each hand. Set your dumbbells on the floor a little wider than shoulder width apart. Brace your midsection by engaging your core muscles while squatting down between the dumbbells (bend at your knees, not your back). Pick up one dumbbell in each hand and hold your breath briefly to stand. Keep your arms straight by your sides, keeping shoulders back and your torso upright. Walk while holding the dumbbells, keeping core muscles engaged and upper body upright. Walk to fatigue, then stop and squat slowly to lower your dumbbells to the ground. Rest for 2 to 5 minutes, then repeat. (You can walk around without weights during the rest period.)

How much/how far: Start walking a distance (20 steps, for instance) that allows you to fatigue without losing form and proper body alignment. Repeat three times.

Planks/Around-the-World Planks

Planks strengthen your entire body while specifically improving stability in your midline—the centermost area of your abs, low back, hips, and glutes. While hiking varied terrain, your midline is constantly challenged to keep you stable and upright. Planks help give you a solid foundation.

Muscles strengthened: Shoulders, triceps, upper back, lower back, glutes, quads, hamstrings, abdominals.

How to do planks/around-the-world planks: Start with your palms, knees, and toes on the floor. Then, push to lift your knees off the ground until you’re in a push-up position. Aim to keep your body in a straight line from your feet to your head by engaging your abs, quads, back muscles, and shoulders. Try to avoid dipping or raising your rear end, hunching your shoulders, or rounding your upper back. Hold to fatigue, rest, and repeat. For variation and to further strengthen your midline, try an around-the-world plank: Widen the placement of your feet and hands for stability, then raise one arm at a time and hold it straight out in front of you, parallel to the floor, for two to three seconds at a time. Lift and lower one arm, then the other, then lift and lower one back leg, then the other, going around clockwise until you’re too tired to maintain proper form.

How many: Start with one set of three reps of regular planks, holding until fatigue causes your form to waver. Rest for one minute between each rep. (If you can, try starting with reps of 10, 20, or 30 seconds, then move up from there.) To make it harder, simply increase the duration, or work up to doing one or two around-the-world planks.

All articles are for general informational purposes.  Each individual’s needs, preferences, goals and abilities may vary.  Be sure to obtain all appropriate training, expert supervision and/or medical advice before engaging in strenuous or potentially hazardous activity.

MORE STORIES