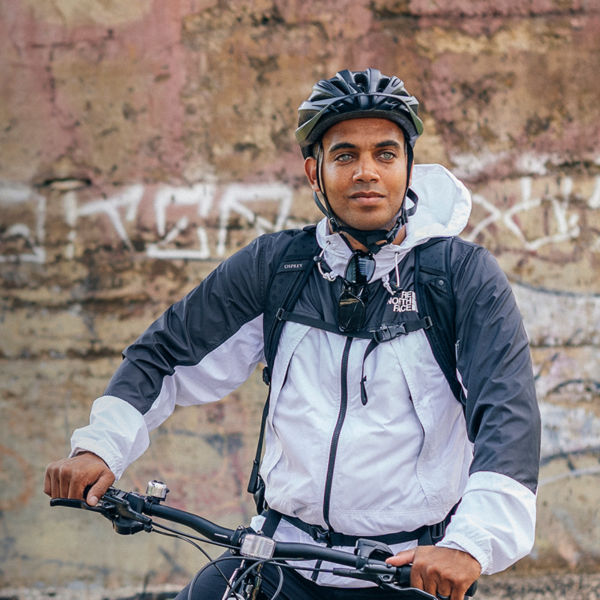
A female photographer take a photo towards the camera

How To Choose the Right Camera Gear for Adventure Travel

Photo: Maria_Savenko

To capture amazing photos, you’ll need a hardworking camera kit.

Pics or it didn’t happen, right? Whether you’re capturing memories for the family or building your photography portfolio, a good camera helps you relive great moments again and again. That’s especially true in adventure and travel photography, and with the right gear, you’ll be equipped to capture incredible shots. From cameras and lenses to essential protective equipment, here’s your guide to building your adventure and travel photography kit.

Types of Cameras

To get started in adventure and travel photography, it’s important to be familiar with the types of cameras available.

Compact Digital Cameras

Also known as “point and shoot” cameras, these are the most user-friendly of all digital cameras—they’re small, lightweight, and durable, but they’re not as sophisticated as multi-part cameras with higher-quality lenses.

DSLR (Digital Single Lens Reflex) Cameras

Serious photographers use DSLRs for their sharp images, adjustable settings, and interchangeable lenses. “Mirrorless” cameras are compact DSLRs (without the internal mirror), which makes them lighter while still capable of capturing high-quality images.

POV Action Cameras (i.e. GoPros)

Durable and versatile, point-of-view action cameras are small enough to fit in the palm of your hand or in a pocket while out in the field. They’re great for capturing motion, but they do have some drawbacks: shortened zoom, fixed focus, small viewfinder, and their settings aren’t fully customizable. 

Drones

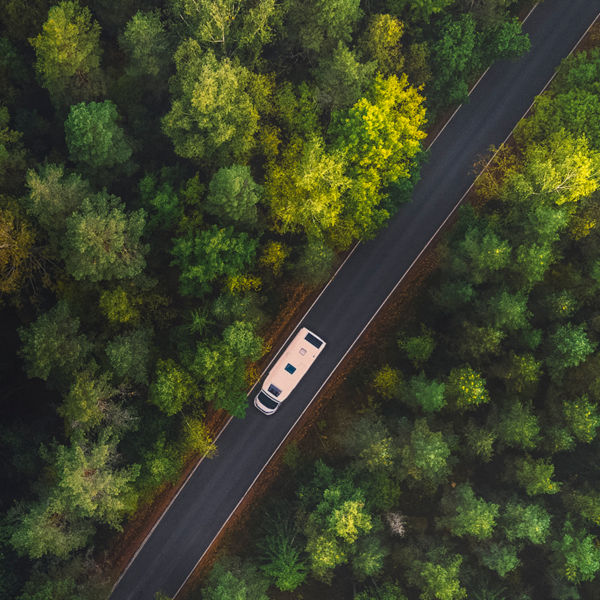
Like an action camera with propellers, drones can help you produce stunning aerial photography and video without stepping into a plane. Just keep in mind that there are strict rules governing their use, especially on public lands, as well as checked baggage airline policies for carrying their extra batteries. 

Film Cameras

These old-school cameras are making a comeback. They create distinctive images, but you’ll need to get the film developed in a photo lab.

Camera Body

For adventure photography, a camera’s ability to withstand the elements is key. Look for durable housings that can resist water and potential damage from dust or sand (more on that below). In addition, make sure the camera body has connection points for a strap, which will make it much easier to carry.

Camera Lenses

Choose your lens based on what you want to shoot. There are two categories of lenses: prime lenses and zoom lenses. Prime lenses have fixed focal lengths, and they have the advantages of being lightweight and producing sharper images. Zoom lenses have adjustable focal lengths, which makes them more flexible for shooting in varying environments and capturing subjects from different distances. For the average photographer, there are four basic types of lenses to consider:

Standard

Often considered the most versatile, these lenses can accommodate a wide range of photography scenarios—close up, far away, and everything in between. 

Macro

These are used for close-up photos. Macros are best for nature photography, as they enable you to capture the most details in a single image. 

Telephoto

These are made for shooting subjects from a distance. They’re best for sports photography, as well as some landscape and nature photography, because they’re ideal for isolating far-away subjects. One caveat: They can be heavy and bulky. 

Wide-Angle

These lenses are used to fit large areas or scenes into a single frame. They’re best for landscape photography. 

A woman holds a POV camera (GoPro) on a stick over the Devil's Bath at Waiotapu Geothermal Wonderland, a colorful volcanic area in New Zealand. Photo: Alex Messenger/Tandemstock

Camera Packs

These specialized backpacks are built with padded pockets in the main cavity to provide secure storage compartments for your camera body, lenses, and other accessories. The padded pockets keep those sensitive items from jostling around and breaking. Below are some features to consider when shopping.

Capacity

Standard camera bags run between 20 to 30 liters. Most are built to carry multiple cameras and lenses, plus other accessories like laptops, battery packs, and even drones. If you’re planning multi-day trips or need to pack extra gear, look for a larger bag (50 to 60 liters).

Organization

The best way to keep your equipment safe in a photography backpack is to pack it correctly. In addition to having enough padded compartments, look for smaller pockets that can store easy-to-lose items like SD cards. Tripod holders are another versatile feature. Usually, they’re located on the backpack’s exterior, and they often have an exterior pocket to support the tripod’s bottom with straps near the top of the pack to secure it.

Backpack Opening

How a backpack opens will influence how easy it is to organize and access your equipment. Look for U-shaped zipper openings that allow you to fully open the backpack and examine its contents all at once.

Straps

Chest and hip straps will help distribute the weight of the load so it’s not all resting on your shoulders, and adjustable shoulder suspension straps will keep the pack more comfortable during longer hauls.

Protection

Some photography backpacks have water-repellent finishes. If a bag is advertised as waterproof, ensure its zippers are taped, too. You can also purchase an external rain fly to protect your backpack in wet weather. Other bags are built with layered materials to insulate against battery-draining cold temperatures, and some have hard shells to guard against tears or bumps with hard objects.

Adjustability

Removable separators allow you to customize the bag’s compartments for your specific kit. They also allow you to make room for non-camera gear when you aren’t shooting.

Camera Cubes

If you’re not ready to buy a backpack for camera equipment, padded camera cubes are a more economical and versatile option: Pack your photography equipment into the cube and then load the cube into whatever bag you want.

Capacity

There’s no standard cube size. Consider the gear you have and buy a cube that meets your needs—or leaves room for future additions to your photography kit.

Organization

Pay attention to how the cube’s compartments are divided to make sure it’ll safely cradle all your gear, including SD cards, cords, and batteries.

Cube Opening

As with backpacks, make sure the cube can open in a way that allows easy access to all of its contents.

Weight

Camera gear is heavy enough; you don’t need your packing aids to weigh you down any further. Heavier materials often last longer, but a lighter pack will be easier to carry. You’ll have to decide what’s best for your needs. 

Compatibility

Some camera cubes are designed to fit snugly inside specific types of backpacks. This helps for multi-day adventures where efficient packing is essential. 

Protection

Like backpacks, some cubes are constructed with water-repellent materials to ward off moisture if it seeps into your bag.

Field Protection

If you’re adventuring in bad weather or rugged environments, bring extra protection for your equipment while you’re shooting.

Camera Cover

Like a rain jacket for your camera, these covers wrap around your camera body and lens to keep them protected from precipitation. If there’s any chance your camera could end up immersed in water, consider a padded dry box or dry bag to ensure it stays dry in transit.

Plastic Bag

In a pinch, a clear plastic bag can do a lot to protect against rain. Drape the bag over your camera body and then use a rubber band to pull it tight across the lens for a clear view.

Camera Parka

For protection against the cold, consider a camera parka—an insulated jacket for your camera that’ll keep it functioning in sub-freezing conditions.

Cleaning Gear

Regularly cleaning your photography equipment will protect it from dust and scratches and extend its lifespan. Here’s a list of cleaning equipment to keep on hand.

Soft Cloth

Keep the camera body free of dust and dirt. Use a dry, soft cloth to gently clean off sand, salty sea spray, trail dust, or whatever else you might bring home from an outdoor adventure. Only once all dirt has been removed should you get the cloth (lightly) damp for a final wipe down around the camera body. 

Bulb Blower

To remove dust and loose sand from small crevices on your camera, use a bulb blower (it looks like a mini turkey baster) to gently blow away small particles.

Paintbrush

If a bulb blower can’t quite get a piece of dirt or sand out, try gently brushing the area with a paintbrush. Just be careful: You don’t want to make the situation worse by scratching surfaces or driving the particles deeper into the camera. 

Isopropyl Alcohol

For greasy fingerprints and other gunk, grab some isopropyl alcohol. Add a few drops to a piece of tissue and rub gently to work away the residue.

Air Dry

After spending a lot of time in a high-humidity environment, you’ll want to ensure no condensation lingers inside the camera body. You can remove the lens to let it dry out, or visit a service center to have a pro evaluate it and prevent any moisture damage.

Insurance

As a final layer of protection, consider insuring your camera equipment. Good insurance programs will cover accidental damages to your camera, though make sure you read the fine print: Policies are usually very specific about what is and is not covered.

All articles are for general informational purposes.  Each individual’s needs, preferences, goals and abilities may vary.  Be sure to obtain all appropriate training, expert supervision and/or medical advice before engaging in strenuous or potentially hazardous activity.

MORE STORIES