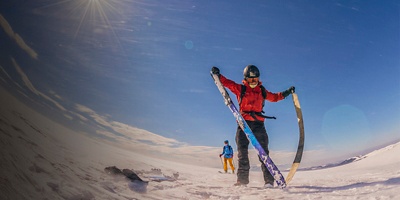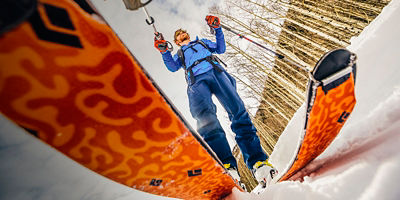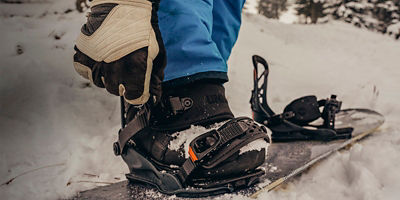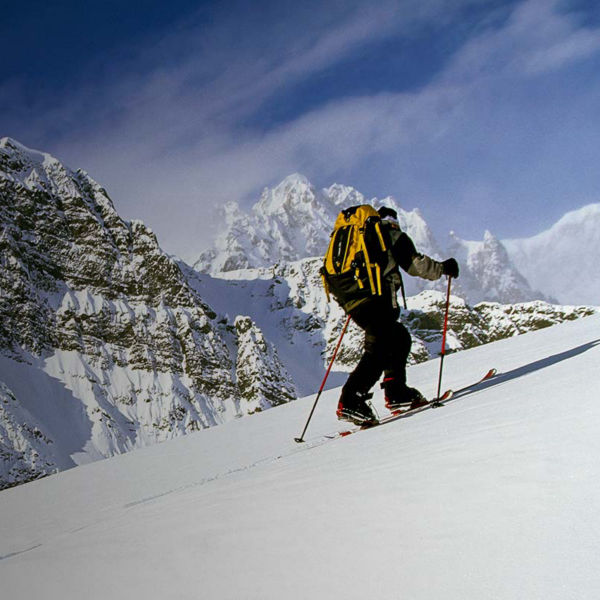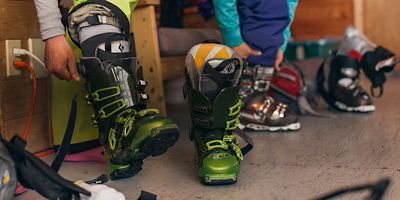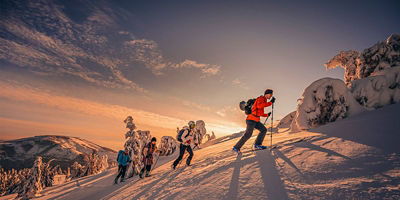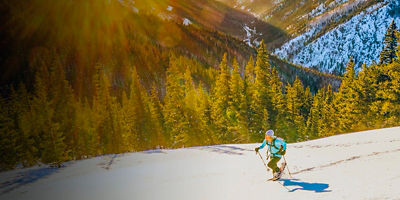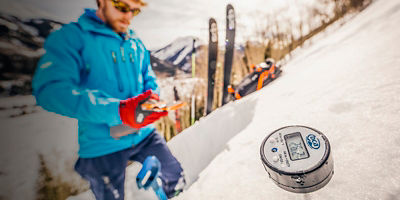
Backcountry skiing and snowboarding offer an amazing way to earn your turns away from the crowds. But as well as the necessary safety gear—and some backcountry boots and bindings—you’ll also need climbing skins to get you to the top.
Climbing skins are long strips of fabric backed with an adhesive that sticks to the bottoms of your skis. Slap them on your backcountry skis, and you can ascend on snow without slipping backwards. Peel them off, and you can scoot downhill just like you would at the resort.
Here’s how they work: The side touching the snow has tiny hair-like fibers that stick up and grip when pushed in one direction, and flatten down and glide when pushed in the other. Skins stay put thanks to their layer of reusable glue, as well as clips or hooks that clamp them to the tips and tails of your ski. When you’ve reached the top of the slope, you simply unhook the clips, peel off your skins, and roll them up and stash them in your pack (or pockets) for the descent. Then, you can reattach your skins and repeat the whole process until your quads give out.
Materials
In the beginning, climbing skins were made of seal skin, which had tiny hair follicles that slide one way and grip the other. Today’s skins are lighter and grippier (and, thankfully, made without harming any seals). Materials range from nylon to mohair (made from goat fur) and combinations thereof. Each material offers different grip, glide, wear, and cost.
Mohair
Mohair is more expensive than nylon. It offers better glide, but it can wear down over time, so you’ll have to replace it more often. Because mohair skins tend to be lighter, they’re a good option for long-distance tourers looking to save weight.
Nylon
Nylon is more durable than mohair, and more affordable, which makes it a good choice for more casual tourers. It doesn’t glide quite as smoothly as mohair, but it offers better traction on slick slopes. Nylon skins can also be slightly heavier than mohair.
Blends
While slightly more expensive, combinations of nylon and mohair blend the best attributes of each, and maximize both grip and glide.
Glue
All skins have some sort of glue for adhering to your ski’s base. Fortunately, technology has come a long way since the days of yesteryear when yanking apart a pair of skins took Herculean effort. Most glues are relatively similar. One exception is the company Contour, which manufactures skins that use a hybrid polymer compound in place of glue to stick to your bases molecularly. While it’s slightly more expensive, it keeps them cleaner and more free of debris, and it eliminates the tug-of-war often involved in pulling them apart.
Attachment Points
Different skin models use a variety of hooks, clips, and loops to keep them in place. Some skins clip to the tail of the ski, then let you stretch them taut with a rubber, bungee-style fastening that hooks around the tip. Others reverse it and have the tensioning on the tail and a fixed attachment on the tip. Some skins are even designed to attach to specific skis, slotting into a hole drilled into the ski tip or tail (holes that can also be used to turn a ski into a rescue litter or snow anchor). All of these systems work well.
Sizing
The most important feature of climbing skins is their size. Too big, and they’ll cover up your ski edges, leaving you unable to dig in while sidehilling. Too small, and you won’t get the underfoot grip you need for a secure ascent. Here’s what to watch for to get it right.
Custom Skins
Some manufacturers sell ski and skin packages, including pre-cut skins already designed to fit the ski (or splitboard). These skins fit precisely for optimum performance, so simply slap them on and you’re off.
Width
If you don’t buy skins custom-made to fit your skis or splitboard, you’ll likely have to trim them down to size. Most manufacturers list their skin widths in millimeters. When shopping, make sure to get a pair that’s wide enough to cover the full base of your ski (i.e. if your skis are 100mm at their widest point, usually near the tip, make sure your skins are 100mm or wider). Once you get your skins, use the enclosed skin-cutter tool and follow the manufacturer’s directions for trimming them to size. You can also have this job done by a ski shop that offers backcountry gear services.
Length
As with width, length will need to be finetuned if you don’t buy custom-fit skins. You can either purchase pre-cut skins, or cut them to size yourself.
Multiple sizes: These skins are pre-cut to fit a specific length range, with their tip and tail hardware already installed for convenience. Choose the range that encompasses your ski size. (For example, get skins marked as “162cm to 172cm” for 170cm skis.) Then, use the slider on the adjustable tail or tip hardware to finetune the length.
One size: These skins come in a single length, with either the tail or tip hardware already secured (but not both). For this kind, cut the skin to the appropriate length. You’ll then have to install the remaining hardware.

