Prevention: Proper Hand Care
As the saying goes, an ounce of prevention is worth a pound of cure. Follow these 7 rules to keep your skin strong and healthy.
1. Build up your skin
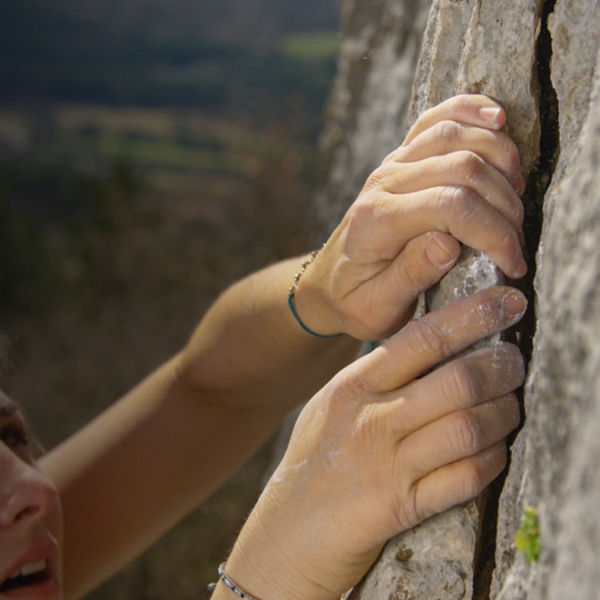
While some grittier rock types will leave you with raw skin no matter what you do, worn tips are usually symptomatic of underdeveloped calluses. To keep your skin tough and strong, aim to climb (indoors or outdoors) at least a few days a week. Get some mileage on both big and small holds to avoid callus overdevelopment in any one area.
2. File down those calluses
Prevent jug rash and splits by gently sanding down calluses any time they become overgrown, raised, or painful. Ditto when you notice frayed or peeling skin: Sand down the dead edges to keep irregularities from getting caught on holds and tearing further.
Tools: You can use a nail file, or any fine-grit sandpaper or sanding block you find at a hardware store. Nail clippers are also useful for trimming peeling bits.
3. Tape up
If an outdoor route features cracks or razor-sharp crimps, consider taping up your hands or fingers preemptively. You can build crack gloves from climbing tape, or buy purpose-made ones, which are durable and reusable.
Tools: Climbing tape or athletic tape is a must for protecting fingers, and crack gloves can prevent gobis from hand jamming.
4. Wait for good conditions
Skin is weaker when it’s wet. If you’re prone to flappers and tears, avoid climbing in humid conditions. If you live somewhere warm, wait for windy days to climb, or plan sessions for early morning or evening when temperatures are cooler. You can also keep hands drier by using high-quality chalk or other drying agents.
Tools: If you’re prone to sweaty or oily skin, try using liquid chalk, drying agents like alcohol or hydrogen peroxide, or an astringent like witch hazel, all of which can reduce skin moisture while you’re on the wall.
5. Moisturize post-climb
Keeping hands clean and dry can hasten recovery and help prevent splits. Wash your hands before climbing, and be vigilant about applying hand salve after every session—especially if you’re prone to dry, cracked skin.
Tools: There are tons of climbing-specific balms out there, but unscented salves like Vaseline or Aquaphor work just as well.
6. Manage Injuries
You pop off a hold unexpectedly, fall back on the bouldering pads, and look down at your hands: A big flap of skin is hanging loose, and there’s blood welling beneath. You’ve got a flapper—what now? Any time you get a serious skin injury, be quick to doctor it up. Clean the wound, trim loose skin, and file down the edges if possible. If you have time, take a few days off to let the wound heal. But if you’re near the end of a dream trip, you can try this stopgap measure: Apply liquid bandage or super glue, then tightly wrap the finger from the top down with a thin strip of tape. Apply more liquid bandage or super glue over the tape for added durability. This can get you through another attempt or two, but be careful not to overdo it (or leave blood on the rock).
Tools: Nail clippers are great for snipping away extra skin, and a clean razor blade and a nail file can provide even more precision. Always carry antibiotic ointment, climbing tape, and liquid bandage or super glue in your climbing first-aid kit.
7. Let your skin rest
Just as you need to give your muscles and tendons a day or two of rest each week, you also need to let your skin heal when it starts to ache. Flappers can take a week or more to heal, but small splits and worn patches can recover in just a day or two with proper care. If you’re prone to skin injuries, avoid trying the same move over and over again. Instead, pay attention to your technique and make the most of each go.
Your Climbing Skin-Care Kit
In this guide, we’ve mentioned a few critical tools for a good climbing skin-care routine. Here’s a checklist to make sure you’ve got what you need in your kit.
- Nail clippers
- Clean razor blade
- Climbing tape
- Sanding block
- Nail file
- Antibiotic ointment
- Liquid bandage
- Super glue
- Hand salve
