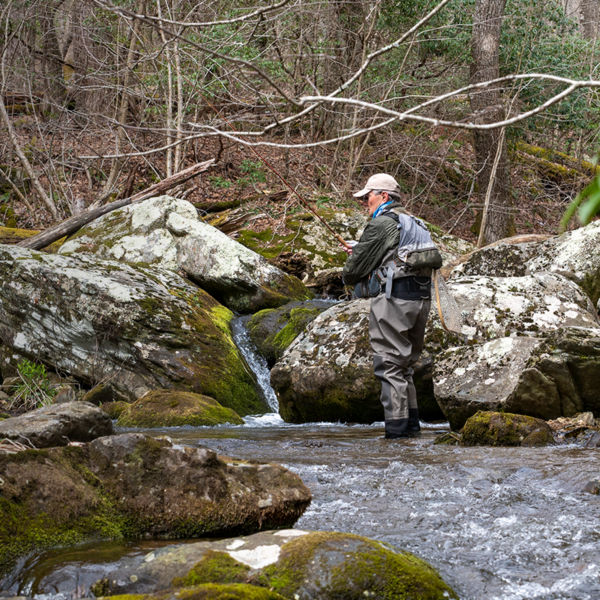
A person fords a river crossing

How To Hike Across Rivers

Photo: Kristina Blokhin

Hike long enough in the backcountry, and you’re bound to cross paths with a real river.

We’re not talking about an ankle-deep stream you can skip across, but rather a deep, swift waterway that might pose a serious hazard. Drowning is one of the biggest risks you’ll face on the trail. So how do you cross one safely? The steps are the same whether you’re staring down a glacial river in Alaska or a rain-swollen creek in the High Sierra: Assess, cross, and (we hope you’ll never need this one) recover. Here are do’s and don’ts—plus green lights and red lights—of safe river crossings.

Assess

You might need to spend a lot more time scouting for a safe crossing than actually crossing the river, but finding the best spot is critical.

DO: Call rangers to check on current conditions and water levels before you leave home. Persistent rain or high snowmelt might have turned normally placid waters into raging torrents. 

DON’T: Assume that the trail intersects the river at the safest crossing spot.

DO: Scout upstream and down to find the most favorable conditions.

  • Red light: Downstream hazards, such as a waterfall, rocks, rapids, or downed trees that could trap you.
  • Green light: Places where the river widens or splits into braids—both reduce the volume of water you’ll have to deal with. 
  • Green light: Light ripples on the surface, which indicate shallower water.

DO: Check the water’s depth and speed, starting from shore. 

  • Red light: You throw a rock into the river and it makes a thunky “ka-ploop” sound, which indicates deep water.
  • Red light: You toss a stick into the river to judge the current’s speed, and you can’t keep up with it, walking along the shore.
  • Green light: The rock doesn’t make a loud sound and you can walk as fast as the stick is moving.

DO: Wade in a bit to test depth and current force.

  • Green light: The water is below your knees (or the knees of the smallest member of your party).
  • Red light: The water is at or above your knees, especially if it’s moving fast. 
  • Yellow light: You’re not quite sure if you can handle the water. If so, DON’T attempt to cross here. Continue scouting for a better place to get your feet wet. If you can’t find anything better, DO turn back. The river will still be there when conditions improve.
A person crosses a river with poles Photo: EdNurg

Cross

You finally found a safe place to attempt your crossing. Here’s how to ford safely. 

DO: Change into sandals or water shoes. If you don’t have them, take off your socks and cross in your boots. They’ll dry, and you don’t want to lose your footing on the slippery river bottom—or injure your foot on something sharp under water. 

DON’T: Leave your pack’s hip belt and sternum straps buckled. If you fall in, you want to be able to wiggle out of your pack quickly so it doesn’t drag you down. 

DO: Use trekking poles or sturdy walking sticks if you’re crossing solo. Maintain at least two points of contact with the river bottom at all times. 

DON’T: Just charge ahead. Probe with your pole or stick to check depth and footing before you take a step. 

DO: Face upstream and shuffle-step across the river at a slight downstream angle. 

DON’T: Cross individually if you’re in a group. Two people should link arms and shuffle across together, with the stronger person moving slightly upstream to break the current a bit. Three hikers should lock arms and form a triangle, facing in, with the strongest one on the upstream side. 

DO: Celebrate your successful river crossing! If you’ve scouted wisely and crossed carefully, most fords end this way. But if luck isn’t on your side, you might need the third step below.  

Recover

The worst happens: You slip, and the current sweeps you away. What now?

DON’T: Panic.

DO: Roll on your back and float with your feet up, clear of underwater hazards. Ditch your pack if necessary.

DO: Swim for shore as soon as the water lets you. Stand up once you’re secure again in water at knee-high depth. Assess any possible injury or gear damage. 

All articles are for general informational purposes.  Each individual’s needs, preferences, goals and abilities may vary.  Be sure to obtain all appropriate training, expert supervision and/or medical advice before engaging in strenuous or potentially hazardous activity.

MORE STORIES