Alpine Skiing Basics: How To Get Started

Here’s what you need to know before your first ski lesson.

Let's be honest: Skiing is challenging, especially if you’re learning as an adult. But that doesn’t mean it should be intimidating. The best way to learn how to ski is by taking a lesson with a professional instructor. A proper lesson will introduce you to the fundamentals of skiing, ensure you learn the correct techniques, and make the experience as fun and safe as possible—all of which might not be the case if you’re learning from family or friends. It’ll cost you some money, but it’s worth it: You’ll get quality instruction and you’ll learn more quickly.

Before you hit the slopes with your instructor (or if you’ve already taken a lesson and want a refresher), here are a few tips to get you on the right track. 

Ski Equipment

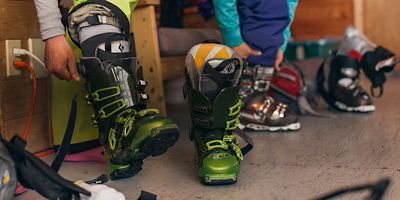
Having the right gear (and knowing how to handle it) will go a long way toward making your ski day more enjoyable. Once you’re sized and outfitted with the right poles, skis, bindings and boots (that fit well with long, warm socks), there are a few final considerations before you clip in for your first run.

Dress in Layers

Winter weather can vary, and once you’re exercising, you’ll warm up quickly. Dressing in layers will help you regulate your body temperature and stay comfortable. Generally, you’ll want to wear a breathable, moisture-wicking base layer to prevent you from getting too sweaty, an insulating midlayer to keep you warm, and a waterproof outer jacket to fend off snow and moisture. If you don’t have all three types of layers, wear what you have, but avoid wearing cotton or jeans, which will soak up snow and sweat and leave you freezing. 

Wear Goggles and a Helmet

Protection for your eyes and head is essential when skiing. Falling down is a part of learning to ski, and a helmet is critical for protecting your head from impacts. Goggles are also a must. They form a sealed, protective barrier around your eyes to block blowing snow and chilly winds—something sunglasses can’t do.

How To Carry the Skis

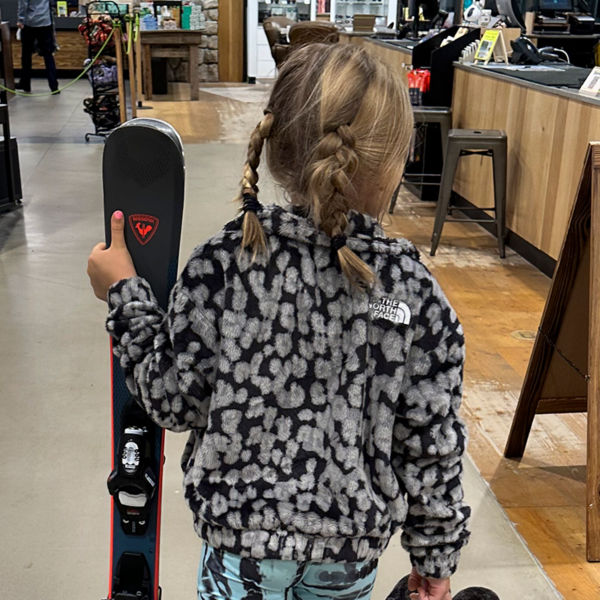
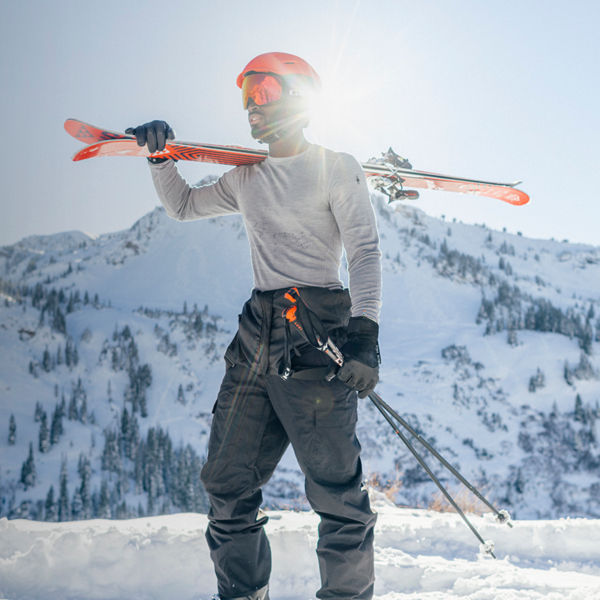
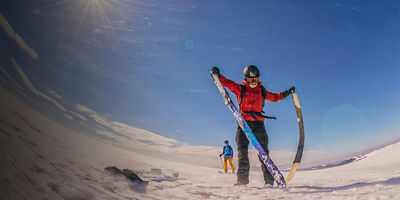
There’s a lot of equipment involved with skiing, and hauling your gear to the slopes can be awkward and difficult if not done properly. To carry your skis, start by putting them together with their bottom surfaces facing each other and the bindings lined up (the prong-like binding brakes should clip together). Then hang your ski poles from the tip of one of the skis using the poles’ wrist straps. With your gloves on, hold the skis and the poles with one hand above and one hand below the bindings. Carry the skis in front of you diagonally. Be careful not to swing the skis or poles—you could hit something (or someone).

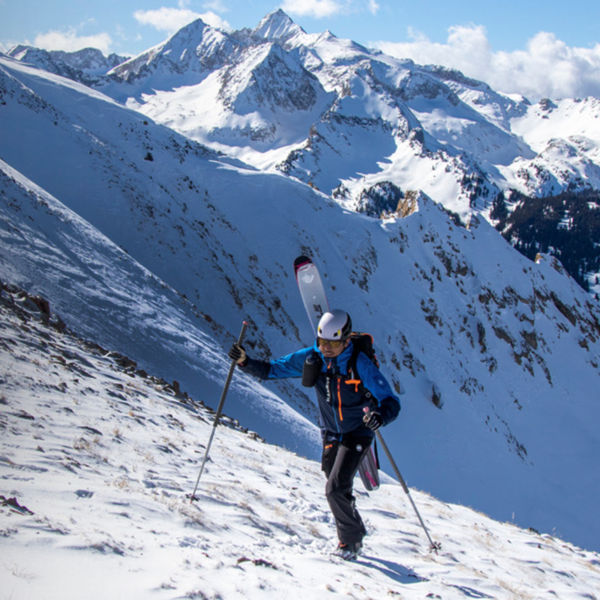
While this bundle method works well for managing all your equipment, to walk any distance you’ll want to work toward carrying your skis balanced on one shoulder. Do this by linking them together properly and hoisting the front end of the skis to one shoulder. Make sure the top ski will not slide forward and use one hand to hold down the tip of the top ski, and the other to grip both poles for added walking stability. Note the extra space needed to pick up and put down your skis—and the extra attention needed to avoid swinging the ski tails around when making turns.

Basic Ski Techniques

Your instructor will cover these skills in more detail, but it’s good to know some basics before your first lesson.

Boots and Bindings

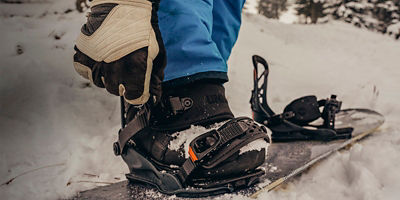
The boot, binding, and ski settings should be adjusted at the ski shop when you rent or buy your gear. But before you can get on the hill to actually ski, you’ll need to get situated in your boots and bindings. Open the boots fully and step in, adjust the liner around your foot and shin, tighten the bottom buckles first, and then the top buckles and calf strap. Next, stand up and test the boot by pressing your body weight forward on the shin. Your heel should not lift inside the boot. Once you are finally on the slope, clear the snow out from under your boot and step into each ski, one at a time. Make sure the toe piece is in place, and then step down on the heel. You’ll know you are in the ski when the binding clicks. Lift your entire ski off the ground to make sure it is fully attached. 

Ski Stance

Before you hit the mountain, practice your ski stance. With your boots on and clipped into your skis, stand with your feet hip-width apart and keep the skis in a parallel position. Bend your hips, knees, and ankles slightly. Your upper body should lean slightly forward over your hips and your weight should be centered over your ski boots. 

Pizza and French Fries

Some of our favorite junk foods can remind new skiers of the shape the skis should make while linking turns. A wedged stance, or pizza, is when the tips of the skis are pointed together while the tails are wide apart, forming a triangle. This shape will help you make turns, slow down, and stop. French fries are when your skis are parallel (like in the ski stance described above), and this is used to accelerate and move forward. Practice the pizza and French fries while standing on flat terrain. Once you begin skiing, you'll learn to control your speed by moving between these two positions. 

How To Make Turns

Linking turns is the key to descending a slope. Start by skiing in a wedge or pizza stance. To initiate a turn, you’ll shift your body weight to the opposite ski in relation to where you want to turn. For example, you’ll put more weight on your left foot to turn right. Once you’ve turned, continue in one direction across the slope. To link the turn, go back to a neutral pizza stance with equal weight on each foot, then shift to the right foot to turn left. Repeat the process until you get the hang of it.

Look Where You’re Going

Your eyes will direct your body. As you ski, always keep your eyes up and look ahead to where you want to go. Resist the temptation to look down at your skis, and don’t stare at obstacles you want to avoid (instead, focus on the safe path you want to follow). 

Yard Sale

You’ll inevitably fall once in a while when learning how to ski. If your skis are still attached to your feet, situate yourself with the skis pointing across the slope so the skis are not sliding downhill. Plant your pole on the uphill side of your body and use it to assist in standing up. If you “yard sale,” or fall and lose your poles, skis, or goggles, you’ll need to collect your belongings and get back on your skis, so you are not that person walking down the slope. Use the same technique to stand up, collect your belongings and move to a safe spot at the edge of a run. Place your skis across the slope and yourself below the skis. Clear the snow out from the bindings and your boot. Step into the downslope ski first, planting one pole below the ski and one above. Then step into the uphill ski. Check for injury; laugh it off.

Take a Rest Break

Skiing is a full-body, highly aerobic exercise. If you exhaust yourself, injuries are more likely, especially when you’re learning. Be sure to take breaks, eat, and hydrate. Pro tip: Save any alcohol until you’re done for the day.

All articles are for general informational purposes.  Each individual’s needs, preferences, goals and abilities may vary.  Be sure to obtain all appropriate training, expert supervision and/or medical advice before engaging in strenuous or potentially hazardous activity.

MORE STORIES