sicurezza

Climbing Self-Rescue: How to Ascend a Rope

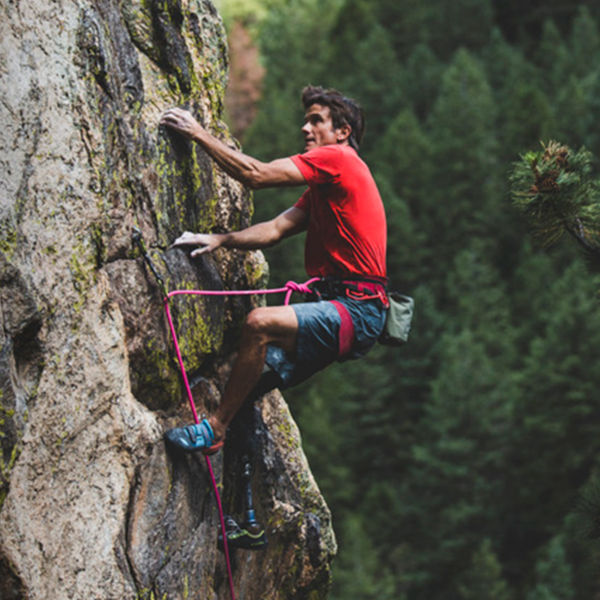
Photo: Chiakto

If you’re lucky, a time will come in your climbing career when you start the day planning to ascend a rope on purpose.

Maybe you’ll be jugging a line to access a big-wall pitch, or getting into position to take some rad photos. But until that day comes, you’re more likely to deal with the other kind of rope climbing: the unplanned, unwelcome, total-emergency ascent. You’ll find yourself staring up 100 feet of nylon and wishing that the line wasn’t wedged in a crack, that your partner hadn’t gotten themselves stuck, or that you weren’t at the moment dangling in space. That’s when it pays to know how to get up a rope—and fast.   

Unplanned rope ascents can take a lot of time and effort, but knowing how to pull them off is an essential self-rescue skill. Here are a few scenarios where knowing how to ascend a rope could save the day.

1. You zipped right past your rappel anchor and need to ascend the rope to reach it. 

2. Your partner got stuck while rappelling. You need to ascend the rope to assist them.

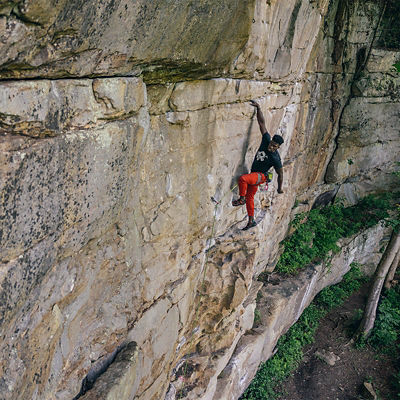
3. You’ve fallen on a steep climb and can’t quite get back to the rock.

4. Your leader has taken a bad fall, and you’ve successfully escaped the belay. Now you need to ascend the rope to reach them.  

5. Your follower has fallen, and you’ve escaped the belay and descended to assist them. Now you need to get back up to your anchor to set up a rappel.

In this guide, we’ll cover a few ways to ascend a rope: without a belay device, with a belay device in guide mode, and with a GriGri assisted-braking belay device.

Necessary Equipment and Skills

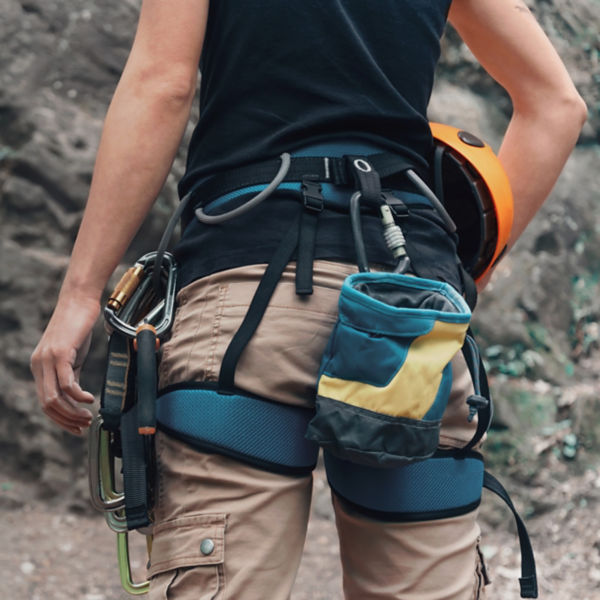
The good news: You can ascend a rope with just a handful of things you probably carry on your harness already. Add a few simple knots, and you’ve got all the ingredients you need to learn this essential skill.

Essential Gear

  • Tube-style belay device with guide mode (or an assisted-braking device like a GriGri)
  • 2 locking carabiners
  • 1 Hollow Block loop, Prusik loop, or other material to tie a friction hitch
  • 1 double-length (48-inch) sling

Basic Skills

  • Use a tube-style device in guide mode
  • Tie a Prusik hitch
  • Tie an overhand knot
  • Optional: Tie a klemheist hitch
  • Optional: Tie a clove hitch

How To Ascend a Rope Without a Belay Device

If you fell while following a climb—or you’ve descended a follower’s line using friction hitches because you didn’t have enough line to rappel—you might not be able to add a belay device to the system. In this case, you can use two friction hitches to ascend a rope.

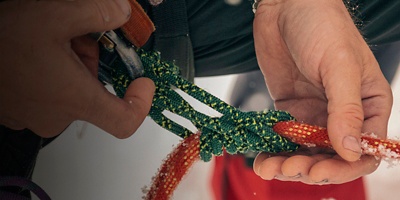
1. Tie a Prusik Loop to the Rope

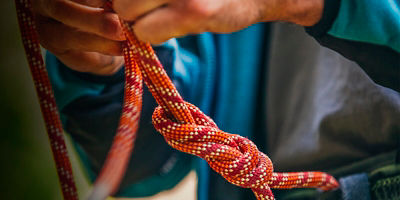
Use a Hollow Block loop or another small loop of cord to create a Prusik hitch. Clip the hitch to your belay loop with a locking carabiner (remember to lock it).

2. Tie a Safety Knot

If you have enough slack, the easiest backup is a big overhand knot on a bight about four feet below your Prusik hitch (clip it to your belay loop). The sleeker solution: Tie a clove hitch here instead, and fix it to your belay loop with a locking carabiner. That way you can adjust the clove hitch as you ascend the rope, and your rope won’t fill with knots that will have to be untied later.

3. Push the Prusik Upward

When you’ve pushed the Prusik up as high as you can, sit back and let it take your weight.

4. Add a Foot Loop

Now use your double-length sling to tie a klemheist hitch or a second Prusik. This hitch should be between your top Prusik and your backup knot. The sling will act as your foot loop. Pro tip: Clove hitch this loop around your foot to keep it from slipping as you ascend.

5. Stand Up

With your foot in the foot loop, rock your leg under you until you can stand upright, unweighting your waist Prusik. (This can take some practice to do efficiently.)

6. Push Your Top Prusik Upward

With all your weight resting in your foot loop, push your waist Prusik upward again.

7. Rinse and Repeat

Now sit back on your waist Prusik and pull your bottom friction hitch up the rope, high enough that you can repeat steps 6 and 7.

8. Continue Tying Backup Knots

Tie a new overhand knot whenever you’ve accumulated 5 to 10 feet of slack. If you’re using a clove hitch instead, be sure to pull the slack through it as you ascend.

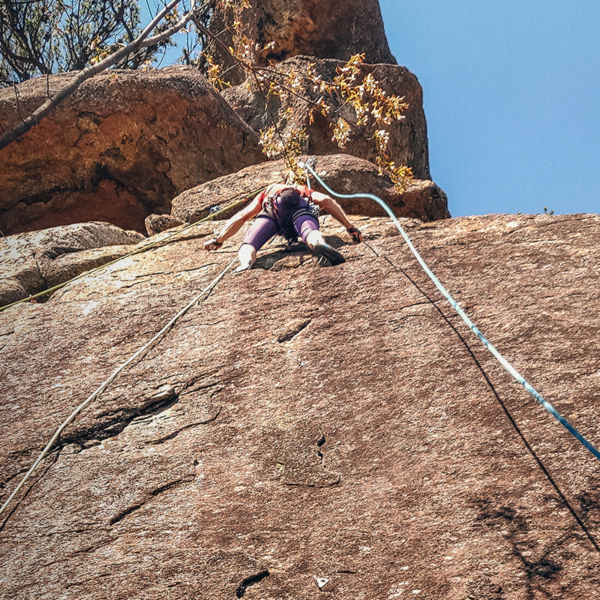
Climbing self-rescue ropes and gear Photo: Everton Leite

Rappel to Ascent: Use Guide Mode To Ascend a Rope While Rappelling

If you’re on rappel when you realize you need to go back up, you can reconfigure your tube-style belay device to ascend using guide mode.

1. Assess the Situation

Since ascending a rope puts more force on an anchor than rappelling, you’ll need an anchor that’s solid and won’t work itself loose under repeated jostling. Don’t ascend the rope if your anchor is suspect.

2. Go Hands-free

Make sure your friction-hitch backup is gripping the rope. Then, add a safety knot: Use both strands of the rope to tie a large overhand knot on a bight a few feet below your rappel device. Clip it to your belay loop with a locking carabiner.

3. Tie a Prusik Hitch

Tie the hitch above your rappel device as high as you can reasonably reach. Use a carabiner to clip a double-length sling to the hitch. The end of the sling should hang down at about knee level. Tie knots or add material to adjust the loop if it seems too long or too short to stand up in. (Remember you can clove-hitch the loop around your foot to keep it from slipping off.)  

4. Switch Your Rappel Device to Guide Mode

Clip a locking carabiner to the metal “ear” on the backside of the device (the hole on the side opposite the teeth). Stand up in your foot loop until you can clip that locking carabiner to your belay loop. Then sit back into your harness and lock the carabiner.

Note: If you did not extend your initial rappel away from your body, you may have to unlock the other, original carabiner—the one running through both rope strands and the wire loop of the device—to get your device to engage in guide mode. To do this, stand up in your foot loop. Unclip this original carabiner from your belay loop, but leave it clipped through both rope strands and the wire loop. Re-lock it there. (Reminder: Be extremely careful when unclipping items. Make sure your belay loop is fixed to the rope via at least two points before you remove any part of the system, and always double-check that you are unclipping the correct carabiner. Also double-check your system for safety after removing or adding any component.)

5. Remove Your Initial Friction Hitch 

Check that your rappel device is in guide mode and is locking to the rope. This locking action will allow the device to capture your progress as you ascend.

Now that you are secured to the rope via your device and your safety knot, you can remove your initial friction hitch. 

6. Ascend the Rope

Ascending a rope with a belay device is similar to ascending with two friction hitches: Stand up in the foot loop and pull all the slack through your device. Then, sit back in your harness and push the top Prusik upward until it’s about an arm’s length above your head. Stand up in your foot loop and repeat. 

7. Tie Backup Knots as You Go

If you’re tying overhand knots, add a new one to the rope every 5 to 10 feet. If you’re using a clove hitch as your backup, stop every 5 to 10 feet to pull slack through the clove.

How To Ascend a Rope with a GriGri or Other Assisted-Braking Device  

If you’re on the ground or at an anchor when you realize you need to ascend a rope, you can use any assisted-braking belay device you have on you.

1. Assess the Situation

To safely ascend a rope, it must be securely fixed. That means that if you’re ascending to an injured climber, the line should be running through two solid pieces of gear or at least two bolts. If you’re ascending a rope that’s attached to a rappel anchor, the anchor must be solid enough to take the force of a jerky ascent.

Note: If you’re in doubt about the strength of your anchor or how well the line is fixed, you can place gear to protect you in case the rope strand you’re ascending falls. However, this is a more advanced technique, so we won’t cover it in this guide.

2. Load Your Belay Device

If you can access both rappel strands, the best option is to load them both through a tube-style device in guide mode. But if you only have a single line to ascend, make sure it’s fixed above you via a huge blocker knot, a carabiner block, or your partner. Then load the strand through a GriGri or other assisted-braking device.

3. Tie a Prusik Hitch

Tie the hitch above your rappel device as high as you can reasonably reach. Use a carabiner to clip a double-length sling to the hitch. The end of the sling should hang at about knee level. Tie knots or add material to adjust the loop if it seems too long or too short to stand up in.

4. Add a Safety Knot

Before you unclip from the anchor or leave the ground, tie a backup knot a few feet beneath your belay device. You can either tie a big overhand knot on a bight, or fasten a clove hitch to your belay loop with a locking carabiner.

5. Unclip From the Anchor

If you’re leaving a multi-pitch anchor, double check that you are securely clipped to the rope and that your backup knot is in place. Then, unclip yourself from the masterpoint.

6. Ascend the Rope

Pull all the rope you can through your upper friction hitch. Then stand up in the foot loop and suck the slack through your belay device. Sit back your harness and push the upper fiction hitch upward again. Repeat, tying backup knots as you go. 

Note: Performing these techniques incorrectly can be extremely dangerous. Always practice technical rope skills supervised by a professional in a safe environment before attempting them off the ground. No article about such skills should be considered a substitute for instruction from a qualified guide or instructor.

All articles are for general informational purposes.  Each individual’s needs, preferences, goals and abilities may vary.  Be sure to obtain all appropriate training, expert supervision and/or medical advice before engaging in strenuous or potentially hazardous activity.

MORE STORIES