How To Lead Belay
Once your rope is prepped, it’s time to get into the business. Here’s how to belay your leader.
1. Load your belay device.
Once your partner has tied in, grab the rope such that there’s 5 to 10 feet of slack between you and your leader. Load the rope into your belay device at this point. As with top roping, the climber’s strand should exit the device from the hole closest to you. Remember to lock your belay carabiner.
2. Grab the brake strand.
Do this with your dominant hand, and grab the climber’s strand with your nondominant hand. This will feel similar to starting a top rope belay. The only difference is that the climber’s strand is limp and doesn’t extend upward—at least not yet.
3. Pay out some initial slack.
Push rope up through the device with your brake hand and pull the slack out with your other hand. You should only need to pull out a few feet—just enough that your climber can get off the ground and clip the first quickdraw. If you’re lead belaying with a GriGri or another assisted-braking device, you’ll need to wrap your brake hand around the device to depress the lever with your thumb. Otherwise, the GriGri’s cam will lock up and foil your efforts.
4. Do your partner checks.
Now is a good time for you and your partner to double-check that your device is loaded correctly, both your harnesses are secure, and the climber’s figure-eight knot is correctly tied. Exchange belay commands.
5. Spot your climber.
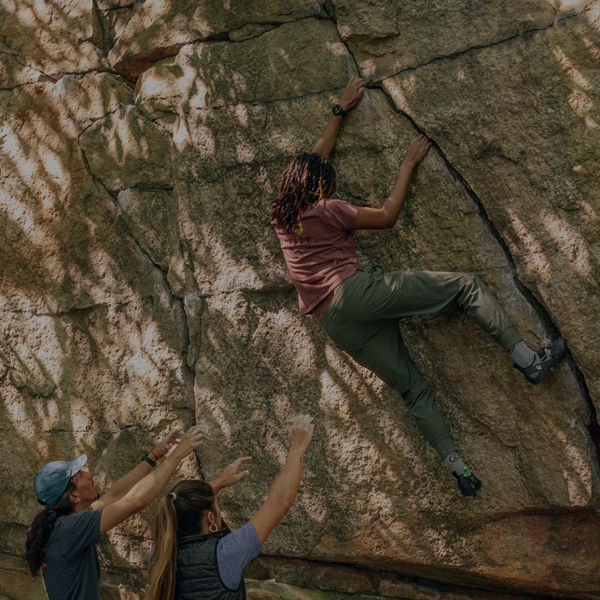
Until your leader reaches the first quickdraw, they’re not on belay. At this point, they’re effectively bouldering. Manage risk by spotting them as they climb, especially if the first bolt or piece of gear is high off the ground.
6. Pay out clipping slack.
When your leader pulls up rope to clip the first quickdraw, you may need to pay out additional slack. Be careful to act fast and give them a foot or two more than they need. If you misjudge, you could short-rope them, pulling them off the wall. (Pro tip: In the beginning, have your climber shout “Clipping!” right before they grab the rope so you know when to pay out slack.)
7. Take in excess slack.
When you see that the quickdraw is clipped or hear the command “Clipped!” draw in extra slack using the PBUS method like you would for an ascending top rope climber. Be careful not to pull the rope tight to the climber’s harness unless they specifically request a tight belay at this point in the climb; the rope between you and the wall should always have enough slack to form a gentle “smile.”
8. Monitor slack throughout the climb.
For the rest of the climb, you’ll basically just repeat steps 5 and 6 as needed. When your climber moves upward or reaches to clip, pay out enough slack to maintain that smile in the rope. When extra slack gathers, take it in quickly; if the climber falls while there’s a big droop in the rope, the slack will unspool, sending them for a longer ride.
Note: Do keep slack to a minimum when your leader has clipped the first piece above the ground or a ledge—a fall onto either of these surfaces could result in injury. In these instances, you may want to keep the climber’s strand just short of taut until they’re reaching to clip the next quickdraw (Be careful not to short-rope them.)
Additional Safety Considerations
Because lead climbing falls are much bigger than top roping falls, you’ll have to stay on your toes to keep your climber safe. Here are some critical rules to keep in mind.
- Stay close to the wall. If you’re standing 10 or 20 feet back, a big fall could suck you into the rock, both endangering you and adding that 10 to 20 feet to the leader’s air time. Instead, stay just a few feet from the wall and brace yourself with an athletic stance.
- Don’t stand beneath your climber. Stand a step to the left or right of your climber. That way if they fall, you’re not in the landing zone.
- Account for weight differences. If you’re heavier than your climber, consider jumping slightly when they fall to soften the landing. (Note: If the extra distance puts your climber in danger of hitting the ground or a ledge, don’t jump; an uncomfortable catch is always preferable to injury.)
- Consider a ground anchor. If you weigh less than your lead climber, the force of the fall will probably pull you off the ground. The good news: No need to jump to ensure a soft catch! The bad news: If the route includes ledge- or ground-fall potential, you won’t have much control over how far your climber plummets. Building a ground anchor can mitigate belayer launch: Sling a tree, clip a low bolt, or put in a few pieces of trad gear. and clip the masterpoint to your belay loop.
- Communicate. Being a good belayer is all about clear communication. Ask your climber if there’s a particular place they’d like you to stand and if there are any sections where they’d prefer a tighter or looser belay. Also ask your climber how they prefer to be supported. Do they like cheering? Silence? Calm words of encouragement? Everyone is different.
