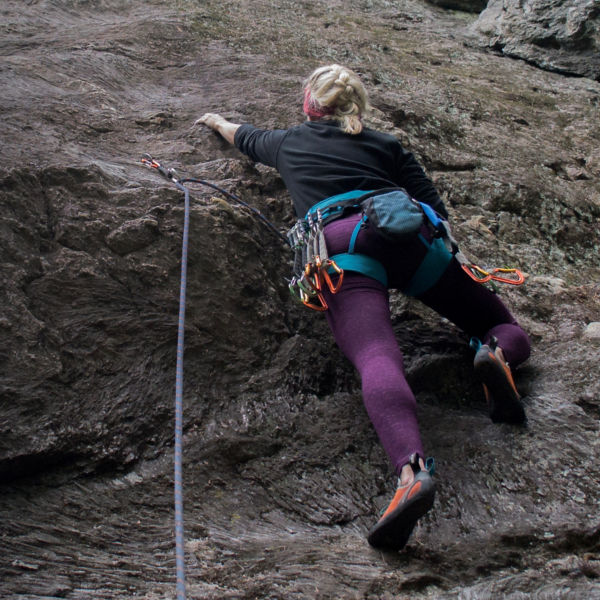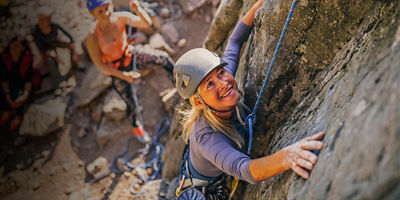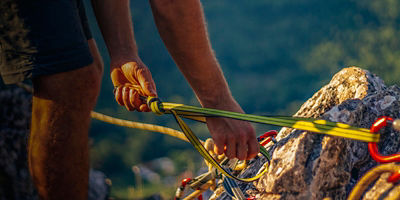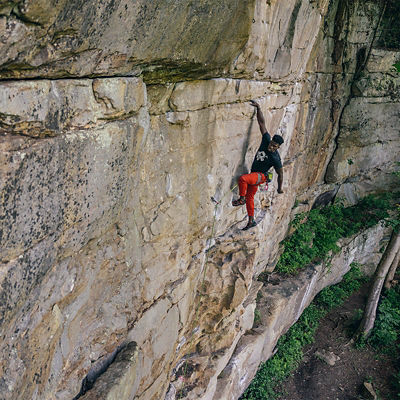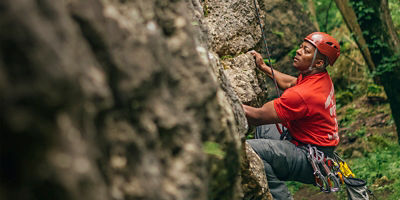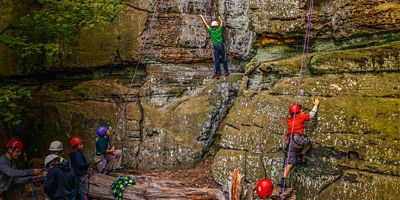
Building a trad climbing rack is a labor of love. Each one is hand-assembled by the climber, a custom collection of pieces designed to accompany them on vertical adventures for years to come. Ultimately, your rack will reflect your favorite routes, treasured climbing areas, and unique personal style of climbing.
For those at the beginning of their trad-climbing journeys: a “rack” refers to a complete set of all the carabiners, draws, removable protection, anchor-building material, and other equipment required to lead a traditionally protected outdoor multipitch route (where climbers place all the protection against falls, and then remove it upon completion). While you can begin collecting trad climbing gear at any time, assembling a full rack is usually a step climbers take when they’ve been practicing “trad” (traditional) climbing long enough to lead routes and build anchors with confidence.
Because it takes a while to develop personal gear preferences, climbers often take months or years to assemble a complete rack. Fortunately, that leaves plenty of time to research each piece and understand your options before you buy. This guide is a great place to start.
In this article, you’ll learn the following:
- Active Versus Passive Protection
- How To Customize a Trad Climbing Rack for Your Local Crag
- How To Choose Cams
- How To Choose Nuts and Stoppers
- Slings, Draws, and Anchor Material
- Other Essential Gear
- What a Sample Trad Climbing Rack Looks Like
Active vs. Passive Protection
There are two main categories of protection for traditional climbing: active protection and passive protection. We’ll also cover a few other types that fall somewhere in between.
Active Protection: Cams
Cams—short for “spring-loaded camming devices” and sometimes referred to as “SLCDs”—are clever pieces of equipment that helped usher trad climbing into the modern age. They feature a wide head made of three to four “cam lobes” at the end of a long stem. Pull the trigger in the stem and the lobes retract, something like a flower closing up. You can then insert the device into a crack and release the trigger, at which point the lobes spring open, blooming to fill the crack. You then clip the end of the stem to the rope. If you fall, the rope tugs outward on the stem, cranking the lobes open so that they dig into the sides of the crack and catch your fall.
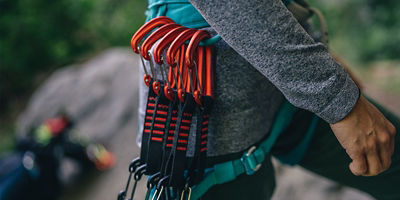
Cams are more expensive than passive protection. However, they are quick and easy to place, and when placed correctly, are very secure. Color-coded lobes and slings make it easy to select the right size from your harness at a glance. Cams are also easy to “clean,” or remove from the rock, which is useful for moving efficiently—and recovering your investment.
Passive Protection: Nuts and Stoppers
Nuts (also called stoppers) are the original forms of trad climbing protection. They are still considered an essential piece of most climbers’ racks. Nuts are simply small wedges of metal that slot into constrictions in the rock. They can be a little more difficult to place correctly in certain types of rock, but they’re usually easier to inspect for correct placement. A well-placed nut is very secure, and larger nuts can hold massive falls as long as they’re placed correctly in good quality rock. The other benefit of nuts is that they’re less expensive than cams. The downside is that they can take a while to clean—make sure your climbing partner has a nut tool and a good understanding of how to remove them from hard-to-reach places.
Hexes
Hexes are large, hollow, hexagonal metal tubes that can be placed in either a passive orientation—simply wedged into a crack like a nut—or in an active orientation, in which case the cable or sling of the hex extends from either its right or left side. That way, falling on the sling wrenches the hex even more securely into place, giving it a slight “camming” action.
Hexes are not always straightforward to place and almost impossible to use in perfectly parallel-sided cracks. They also tend to be bulky. However, they’re also lighter-weight and less expensive than cams. While popular during the early days of climbing, hexes are now used mostly for more niche types of climbing, like alpine climbing or winter climbing.
Tricams
Tricams are small chunks of metal with three distinct points that create a tripod when nested against a panel of rock. You can place them like nuts by settling them into constrictions, or you can fold the sling of the tricam over its head before placing it. That will cause a fall to tug on the tricam’s far end, keying it into the crack for a more secure fit.
Tricams can be tricky to place and clean, but they’re very useful for certain locales. They’re also relatively lightweight and less expensive than cams.
How To Customize a Trad Climbing Rack for Your Local Crag
Different types of rock are easier to protect with different types of gear. For example, if you’re climbing somewhere with exactly parallel-sided cracks like Indian Creek, Utah, cams are perfect and nuts rarely fit. But granite cliffs with numerous flaring cracks and constrictions are often easier to protect with passive gear. And while you’ll rarely see tricams in most places, they’re staples at crags with horizontal cracks and slots—like New York’s Shawangunks or North Carolina’s Looking Glass Rock.
The sizes of the cams or hexes you’ll need will also depend on the area. In a wide-crack haven like Vedauwoo, Wyoming, you’ll need big 5- and 6-inch cams—sizes rarely required elsewhere.
All this goes to say: Before you start buying gear, ask local climbers what kind of gear they prefer for nearby crags. Be sure to ask if there are any types of protection that fit the rock best, and if they recommend getting extras of any size cam or stopper.


