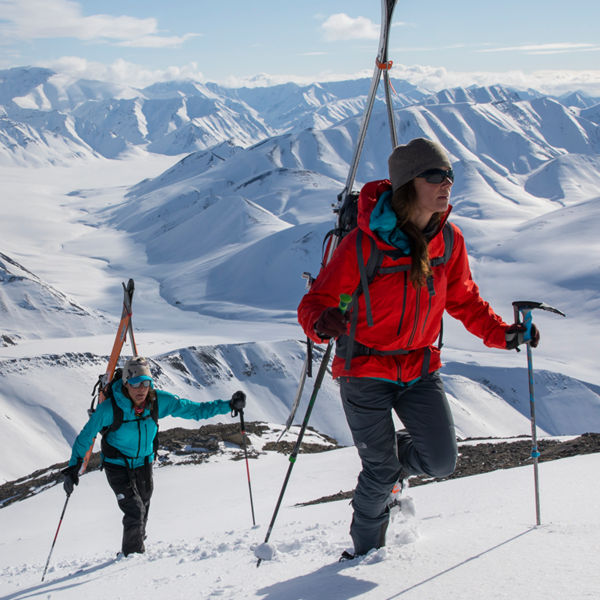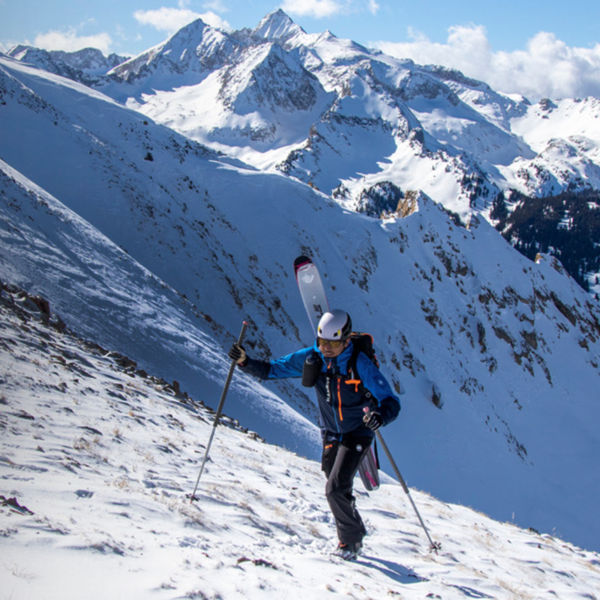
Group of skiers going up mountain

How To Choose the Right Alpine Touring Ski Bindings

Photo: zedspider/Shutterstock

How To Choose the Right Alpine Touring Ski Bindings

Sure, technically you can bring any pair of skis into the backcountry, so long as you’re willing to haul them uphill. But the critical piece of gear that differentiates downhill (aka alpine) skiing from alpine touring—and that you can’t do without—is the binding. While a downhill binding locks both the boot toe and heel in place for shredding turns and then riding a chairlift back uphill, alpine touring (AT) bindings have a mode that allows your heel to pivot upward so that you can walk uphill—usually with the aid of attached climbing skins. (If you’ve ever tried doing the penguin shuffle up to a chairlift, you know why this is important.) For the ride down, AT bindings lock your heels back down and secure your boots with an equivalent amount of rigidity and control over your skis as downhill bindings. And while most alpine bindings look similar, manufacturers have found more than a couple different ways to engineer AT bindings, so choosing the right one requires a quick primer. 

First, Ask Yourself These Questions

There’s a reason we’re all itching for that full quiver of skis: No one ski (or binding) does it all perfectly. One rule of thumb is that the lighter a binding, the worse it will perform with added pressure, landing jumps or while strained on icy, hard-packed turns. So start by determining how you’ll most often use a ski with an AT binding.

What’s the inbounds/out-of-bounds breakdown?

If you’re shopping for an AT binding, you’ll obviously be doing some touring in these skis. But will they exclusively be for the backcountry? Will they be a 50/50 quiver of one? Or, are you looking for a primarily inbounds binding that you can take into the backcountry on occasion? All of these options will put you in a different place on the weight vs. skiability spectrum. 

What kind of skier are you?

If you’re a more relaxed, flowy skier, you’re probably not going to be flying out of your bindings constantly and can afford to pick something a little lighter. But if you ride hard and fast, are looking for big air, or beat up your equipment, you might need to be prepared for a heavier binding. 

What kind of snow do you ski?

If you exclusively ski Utah champagne, you might be OK with a lighter pin binding. Skiing East Coast ice? Look for something tougher and more durable like a hybrid. 

What kind of boots do you have?

If you already have your boots picked out, pay attention to which bindings they’re compatible with; all boot and binding models should list the binding “standards” that they work with. Your downhill-specific boot might fit in a frame binding, but it likely won’t work with any pin-style binding. 

What DIN setting do you need?

Check your current bindings, or consult with a shop (accounting for boot and skier size, and ability) to determine your DIN setting number, which is a gauge of the force required for your boot to release from the binding. A higher DIN setting requires more force to eject from your bindings in a crash. Heavier or more aggressive skiers on more challenging terrain will want a higher number, but all bindings have an upper limit. Make sure the binding you buy can accept your DIN. 

Frame Bindings

Take a look at your downhill bindings: They’re probably just a toe piece and a heel piece screwed right into your ski. Frame bindings use that same design with a metal frame or rail that runs from the toe to the heel piece. With your ski boot clicked in place, the frame unlocks at the heel and pivots at the toe for touring, then locks back down for the descent. 

Pros:

  • Better ski feel: These bindings feel the most like a traditional alpine binding on the downhill. 
  • Compatible with the most boots. 
  • Highest possible DIN ratings. 

Cons:

  • These are the heaviest of all AT bindings. 
  • Not the most comfortable to tour in, thanks to the pivot typically being in front of the toe. 
  • Tall stack height: These bindings set you higher off your ski than you might be used to. The rigid frame underfoot can also impact the ski’s flex pattern.

Who They’re Best For

Frame bindings are ideal for skiers who spend most of their time skiing hard at the resort, but like the idea of dabbling in the backcountry and want one setup to do it all. Inbounds, they’ll ski and feel a lot like your standard alpine binding (and will feel the same on the downhill in the backcountry). When you want to do some touring, they’ll easily switch to that mode, but will feel a lot heavier on the uphill. 

Close up of ski boots stepping onto snowy ski Photo: Nadezda Murmakova/Shutterstock

Pin Bindings

Pin (sometimes called “tech”) systems are the standard for touring-specific ski bindings. At the toe, they feature a mechanical clamp with “pins” on either side that snap into hole recesses on the inside and outside of the toe on touring-specific ski boots. On the heel, metal pins point forward and jam into slits on the heel of touring-specific boots. To go into touring mode, the heel piece simply rotates out of the way so the pins don’t catch your boot. 

Pros:

  • Pin bindings are significantly lighter than any other option and can range from light to so light you’ll forget about them. 
  • The pivot point is much closer to your toes and your natural walking pivot point, making them much more ergonomic while touring. 

Cons:

  • Greater rigidity: These often feel stiffer and afford less natural movement while skiing downhill and won’t feel as “smooth.”
  • Boots need tech inserts to be compatible. 
  • Lighter versions may not have high DIN values, making them more likely to release in hard skiing. 

Who They’re Best For

Pin bindings are the go-to binding of anyone doing a lot of touring where weight is a factor. If you’re getting one pair of skis solely for the backcountry, consider them. Today, there’s a wide range of pin bindings with different weights, DIN settings, and elasticities, meaning they’ll work for just about everything from ultralight ski mountaineering missions to backcountry freeride days. 

Hybrid Bindings

Hybrid bindings combine the toe of a pin binding with the heel of an alpine binding, using some type of mechanism to simply move the heel piece out of the way on the uphill. Increasingly, they can also feature a toe piece that transforms, through some feat or engineering, from a standard (pin) toe piece to a toe-cupping alpine toe piece at the transition, for the downhill. 

Pros:

  • A stronger heel (and possibly toe) piece for the descent means a higher DIN possibility, and more elasticity and better downhill handling at speed. 
  • Lighter than frame bindings. 
  • Natural pivot point and ergonomics. 

Cons:

  • Heavier than pin bindings. 
  • Boots need tech inserts. 

Who They’re Best For

Hybrid bindings are gaining popularity recently, especially for hard-charging backcountry tourers and freeride skiers looking to push the limits of their bindings without sacrificing too much weight. They’re also well-suited for skiers who will be skiing roughly 50/50 between the resort and backcountry. 

Added Extras To Consider 

Thanks to the wide range of skiers who want AT bindings, these bindings have the option to include a handful of accessories—just make sure that your binding is compatible with them.

  • Ski Crampons: If you’ll be touring on especially firm or icy snow, ski crampons attach to your binding at the instep, boosting grip on snow where your skins alone might not cut it. 
  • Ski Brakes: While these are standard on most alpine bindings, they’re often an accessory purchased separately for touring bindings. Some ultralight skiers might choose to go without them, but for most skiers, they’re an important (and often required, inbounds) safety feature designed to keep your ski from sliding downhill should you eject. That can also come in handy when you unclip at a transition. 
  • Leashes: Leashes are the lightweight substitute for brakes, physically attaching your binding to your boot with a piece of wire and a clip, so that if you release from your bindings, your skis stay attached to your feet. 
  • Heel lifters: These aren’t accessories, but all touring bindings should come with some level of heel lifters, or risers. On the uphill, pop them up to prevent your heel from coming all the way back down, taking some strain off your Achilles tendon and calf muscles. All bindings use different systems for these and offer different levels of lifters, so note what’s included with your binding. 

All articles are for general informational purposes.  Each individual’s needs, preferences, goals and abilities may vary.  Be sure to obtain all appropriate training, expert supervision and/or medical advice before engaging in strenuous or potentially hazardous activity.

MORE STORIES