Kayak and canoe packs on dock with reflection Algonquin Park Ontario Canada

How To Load a Kayak

Photo: Terry

Kayaks are great at efficiently carrying gear for days, much like a backpack—only without your back doing the heavy lifting.

Letting the water bear the added weight has its obvious upsides, though a loaded touring kayak still presents similar challenges as a backpack: To make miles in comfort, you need to know how to pack it correctly for a successful outing. Heed the following packing pointers, whether you’re heading out for a day trip paddling on the local bay or a five-day outing on Apostle Islands National Lakeshore.

Sit-On-Tops

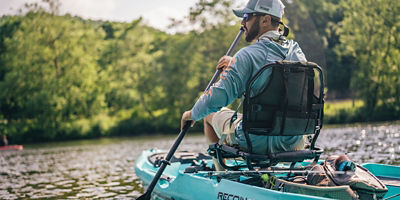
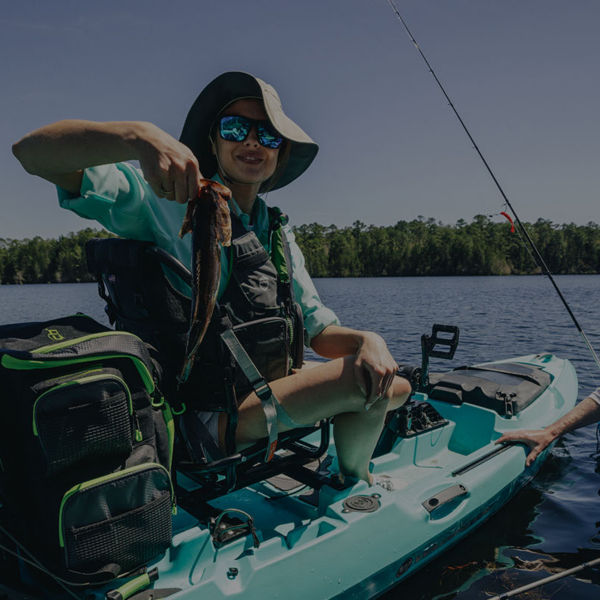
Loading a sit-on-top kayak for day trips is relatively straightforward. Most have room (often in a depression, or storage well) in the bow and stern for packs, dry bags, small coolers, and (the kayak fisherman’s favorite) rigged milk crates. Many of these kayaks come rigged with bungee cords to secure everything; if not, secure loose items with cam straps or other tie-downs. Hint: Keep the weight as low as possible to maintain a lower center of gravity, and, if necessary, put heavier items toward center and lighter items fore or aft.  

Day Trips

For more limited out-and-backs, you likely won’t have much gear. Pack what you do have within easy access while you’re paddling, including utilizing the deck rigging in front of your cockpit for items like water bottles and binoculars. Other comfort and safety necessities can be kept handy in PFD pockets, pouches on your spray skirt (if applicable), between your legs and behind your seat in your cockpit, as well as in day hatches.   

Multi-Day Trips

If you’re heading out over multiple days in a touring kayak, loading your boat correctly is important for everything from balance and trim to access and organization. If possible, test-pack your kayak beforehand to ensure all your items fit.  

Weight

Pack heavier items like food and water near the middle of your kayak, either in the hatch behind the rear bulkhead, in front of your feet or behind the seat inside the cockpit, or in the closest forward hatch. Pack lighter items like sleeping bags and clothing in hatches toward the ends. Keep your gear low and centered from side-to-side to keep your boat stable and balanced. Make sure your boat is trimmed correctly (i.e. balanced from bow to stern) for the best performance.

A woman makes coffee while camped on a chickee in Everglades National Park during a backcountry kayak trip. Photo: Vince M. Camiolo/TandemStock

Dry Bags

Keep everything that needs to stay dry in a dry bag, wrapping important items like sleeping bags in a plastic bag for additional protection. Most dry bags are made from lightweight nylon or polyester fabric with a rubberized waterproof coating, and fasten via a roll-top closure system (Hint: Try to get at least three rolls before fastening). As you close each dry bag, squeeze out as much air as possible before rolling the seal to conserve space inside your compartments. Use many smaller dry bags (rather than a few larger ones) to better fit inside the kayak’s storage hatches—many such bags are tapered for better storage fit. Hint: Color code or label them for organization.

Storage Hatches

Most storage hatches on touring kayaks have small openings, with bigger storage areas inside. Using small dry bags, push your gear as far inside as possible to free up maximum space; get creative with the jigsaw puzzle for the best fit. Hint: If your dry bag is too big for the opening, empty it and place the dry bag inside the hatch first; then reload it with your gear and seal it closed. Also, make sure each hatch is securely shut and fastened properly before paddling away.     

Access

Keep items that you need handy within easy reach while you’re paddling. Good spots include the pockets on your PFD and spray skirt, the space between your legs, and by your hips inside the cockpit, as well as on the deck rigging in front of your cockpit (a great place for your water bottle, map and more). Also, know where items such as your lunch and extra clothing are for when you need them, as well as safety items like a first aid kit, spare paddle, paddle float, bilge pump, signaling devices/navigation equipment, maps and more.

All articles are for general informational purposes.  Each individual’s needs, preferences, goals and abilities may vary.  Be sure to obtain all appropriate training, expert supervision and/or medical advice before engaging in strenuous or potentially hazardous activity.

MORE STORIES