Spend the time before departure to properly get your gear dialed, schedule outlined, and campsite expectations calibrated. Use this guide to get the party, err camping trip, started.
1. Determine Your Destination
Use websites and apps like Gaia, Alltrails, Recreation.gov, and Hipcamp for location inspiration and to reserve popular or federally run campgrounds ahead of time.
Read reviews and look through photos from other campers to find the right campsite setting for your needs. Decide if you’re looking for an established campground with amenities like showers or bathrooms, a site far or close to other campers, dispersed areas to camp on public lands, or campgrounds closer to highway exits (more on that next).
Map out your route to see how long the drive will take. Use this knowledge to plan your departure and estimate your return.
2. Pick Your Campground
There are a few categories of campgrounds (and sites within them). The main ones are: private, public, and primitive (aka dispersed camping areas and sites). Understand their differences before you start packing.
Private campgrounds and their amenities will vary depending on the host. On one end of the spectrum, you could book a glamping experience with a yurt and catered breakfast; on the other end, you could rough it alone in a secluded cove. Private campgrounds should have websites with detailed lists of what’s provided in terms of infrastructure like a picnic table, restrooms, potable water, firewood. Knowing what’s already available can help dictate your packing needs. Pro tip: Apps and websites like Hipcamp can help you sort through the thousands of private campground options in the U.S. with user reviews and photos.
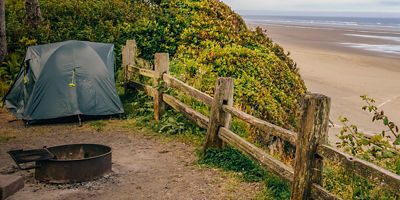
National, state park and county-run public campgrounds will also vary depending on location (check websites for specifics), but almost all are equipped with the following basics: restrooms, tables and grills or fire rings at each individual site, and parking spaces. Some have potable water spigots and showers; others have wood platforms for tents and/or gazebo-like rain shelters. Trash receptacles will vary, but if you’re able to take out your trash with you, do that to reduce the park’s load. Depending on fire restrictions and the camp host (a person stationed at a given campsite whose job it is to welcome, educate, and help campers), the campground may have firewood for sale, too.
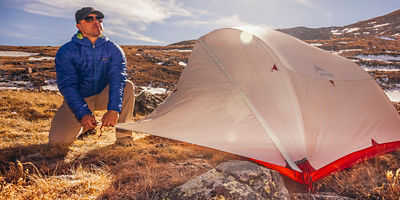
Dispersed camping refers to camping outside of an established campground where there won't be any amenities. Follow Leave No Trace (LNT) principles when searching for your spot: Set up over 100 feet from waterways, trails, the road; don’t block wildlife from access to water; don’t crush vegetation; be a good fire steward by building your own fire ring to help contain flyaway sparks, and by only lighting a fire if it’s allowed in the area; and before departing, ensure the site is even more clear of human traces than when you found it.
3. Do Some Final Research
Amenities will vary campground to campground—a little advance knowledge will go a long way:
Fees
How much you pay might depend on how old you are, how long your stay is, and the time of year (on-season vs. off-season). If you don’t reserve your campground ahead of time, bring enough cash to pay on-site. You might also want quarters for pay-as-you-wash showers.
Road Conditions
Don’t expect pavement to lead you to every campsite. Some dirt roads can be tough on vehicles with lower ground clearance and that aren’t equipped with all-wheel or four-wheel drive capabilities. Use maps, websites, and apps like Google Earth or Gaia to determine road type and conditions—not to mention the weather forecast as dirt roads might become impassable after recent rain.
Pets
Check to make sure they’re allowed at your campground. Obey all posted rules, like leashing your pet and cleaning up their waste.
Vehicle and Tent Limits
Many sites will limit the number of tents or cars allowed, so if you’re camping with a group, check to make sure you’ll all be allowed in one site. Designated “group sites” will offer extra parking and tent spaces.
Stay Limits
Most federal lands have a 14-day stay limit at campgrounds and dispersed sites. If you’re on a long trip, ensure you’re not overstaying your welcome in specific spots.


