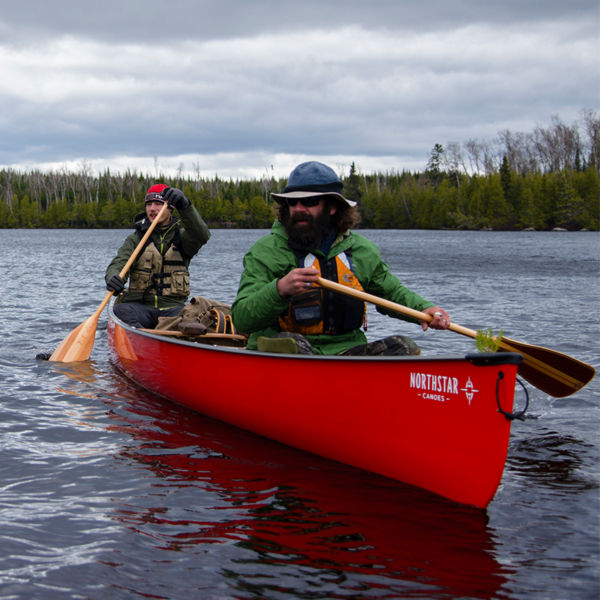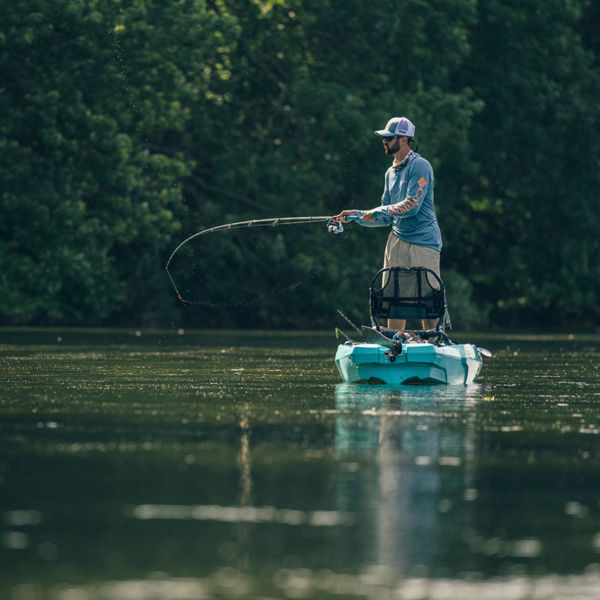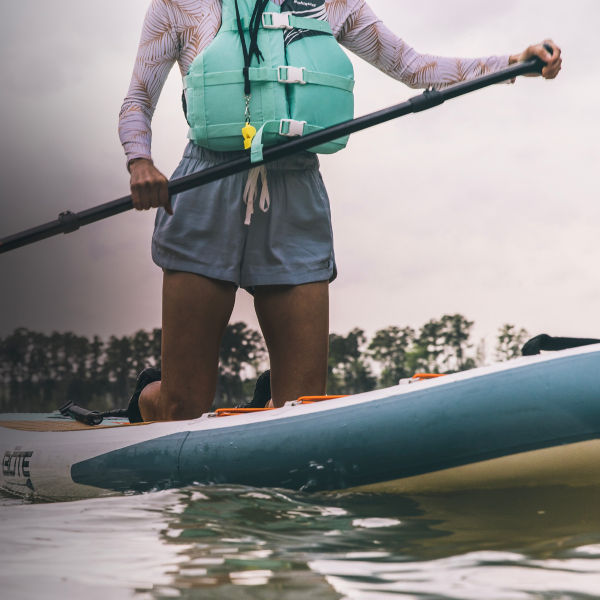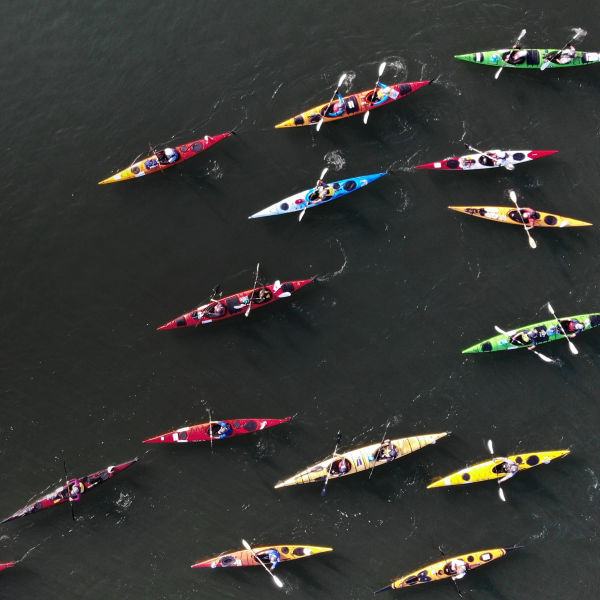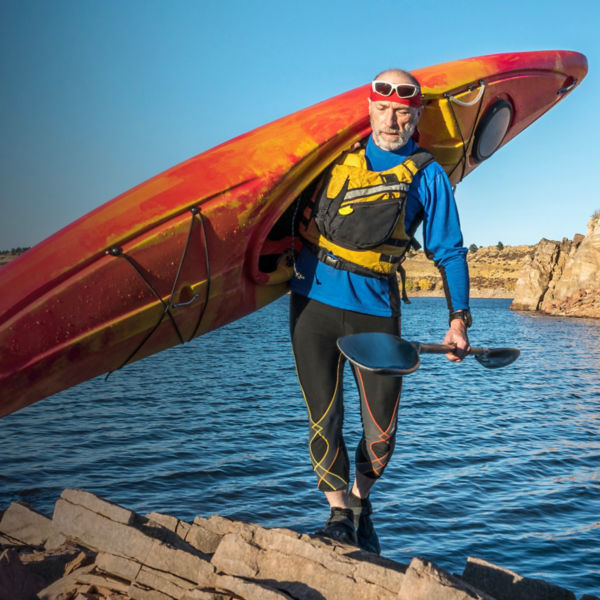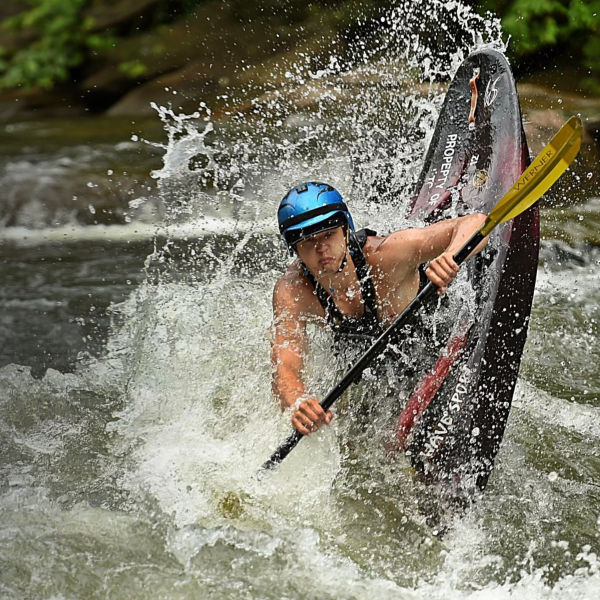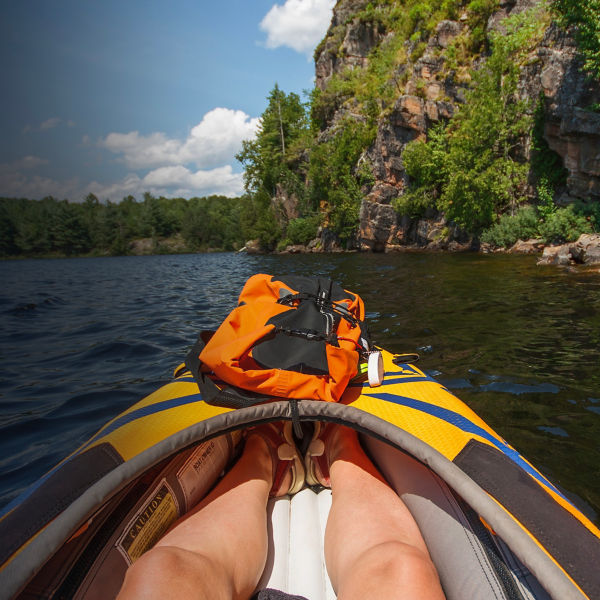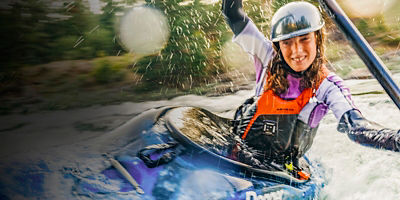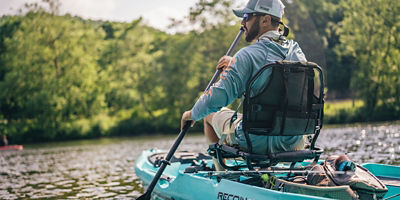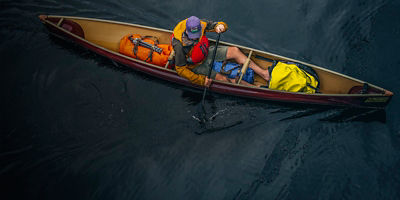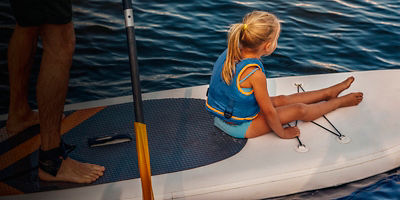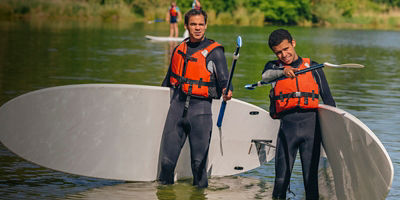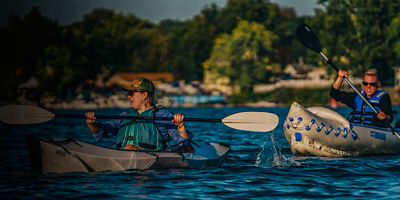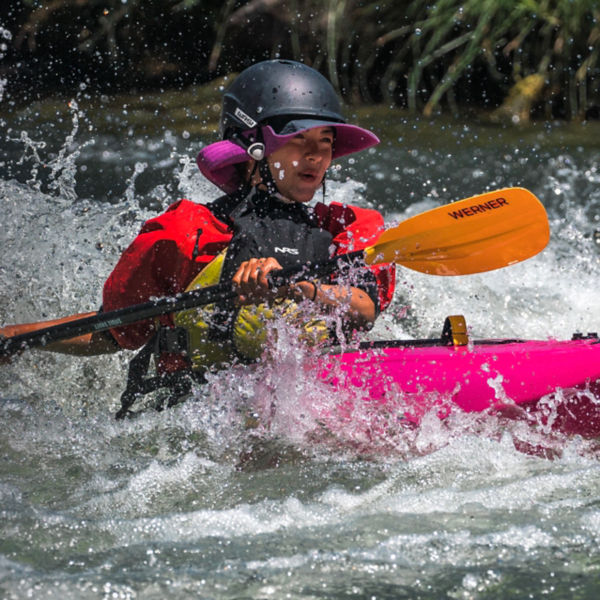
So, you got a fishing kayak and are ready to paddle out and drop a line. You’ll need to know how to best use the craft, from launching and handling, to rigging your paddling gear and your fishing tackle—not to mention casting and landing your catch. That mix of both fishing and kayaking means that you’re simultaneously tapping two sets of skills. And if you’re an angler used to larger, traditional motorboats, you’ll be making a few acute adjustments. Namely, you’re closer to the water, less stable, mostly always seated, and more subject to wind, waves and current. And unless your craft is fitted with a trolling motor or a pedal drive, your paddle is what provides the power. Here’s a few helpful tips on balancing the best of the two activities at once.
The Right Apparel
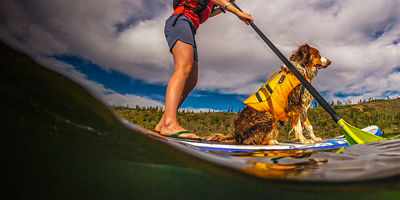
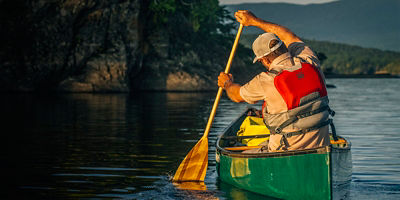
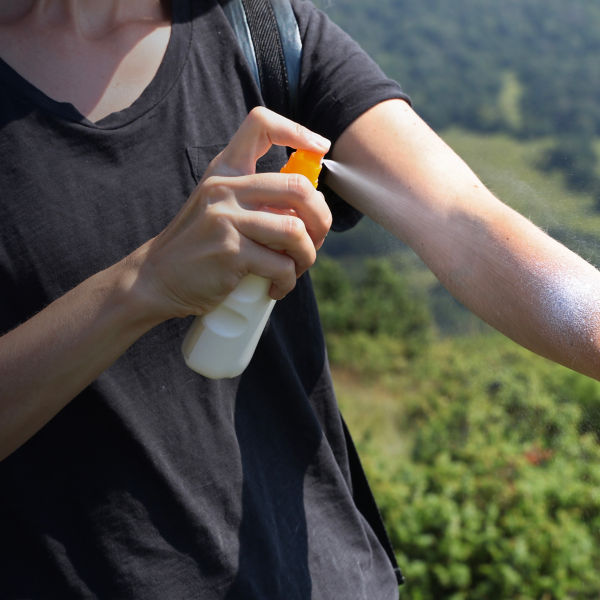
Since you’re out in the elements and close to the water, dress appropriately. If you’re fishing in the heat and sun, wear a lightweight, quick-drying long-sleeve shirt, sun hat and sunglasses—and bring plenty of water and sunscreen (hint: wet your shirt to help cool off). If you’re in colder water and temperatures, dress appropriately to ward off hypothermia, bringing a wetsuit if necessary and/or moisture-wicking synthetic layers and water-repellent paddling tops and pants. Always wear a life jacket. Period. Many kayak anglers prefer the low profile of an inflatable collar-style option, or a life vest with high-back floatation foam to fit larger seats on many fishing kayaks.
Rigged and Ready
It’s easy to get overwhelmed with the endless number of kayak fishing accessories that can enhance your outing. But it’s critical to gain comfort with the boat’s fundamental features first. Before heading far from shore, practice the following in shallow/protected waters until you can capably maneuver the kayak while both paddling and fishing: using the rudder system, all storage hatches, rod holder and paddle holder (and switching between using the two), elevating and changing your seat position, and standing and sitting back down. You’ll still need to rig the fishing basics before integrating more technical additions, notably electronic fish finders and anchor systems (see below).
- Bait and lures: Bring a tackle box equipped with a variety of lures offering different presentations for different fish species and sections of water. Store it so it’s accessible on the water‚ either in the cockpit or bungeed into a cargo area. Examples include a topwater lure to drag along the surface; spinners to troll deeper; and soft baits to jig. If using bait, keep it within reach (many fishing kayaks feature handy bow hatches and live wells).
- The right rods: Rather than wasting time changing lures, bring multiple rods. Have a couple of rods rigged up and ready to use with different lures. (Hint: rod lengths of 7 to 8 feet work best). Spinning reels are easier to use than baitcasting reels when you’re starting out, while fly fishing rods are the most difficult, requiring constant casts (if your kayak allows it, try standing up for easier and better casting). Tip: Make sure your rods are rigged before getting on the water.
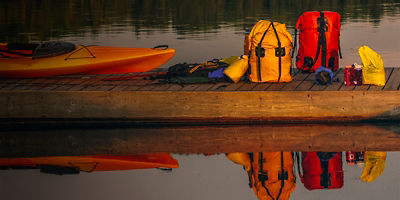
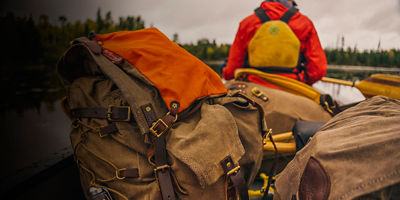
- The catch-all crate: Cargo boxes for kayak fishing can be as simple as a milk crate or as technical as watertight boxes complete with gear tracks and hatches. Decide how many fancy features you need, what conditions you’ll paddle in and how much gear you need to carry. Milk crates are wide open and offer easy access, but will soak gear inside (hint: use small drybags inside to safeguard certain items). To make sure the typical 12”x12” or 12”x16” milk crate fits, measure your aft storage well. Enclosed, watertight boxes are heavier and more expensive, but offer more protection. Secure it with bungees, straps, or included deck rigging in the well. For other dry storage, use hatches in the kayak (if available), or dry boxes and bags. Hint: Use various sized and colored dry bags for different items, and know what’s in them. Dry boxes offer better protection for cameras, phones and other electronics.
Launching
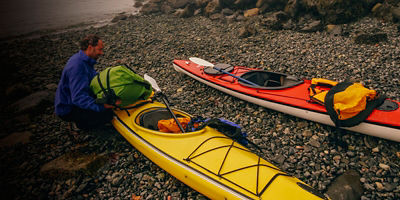
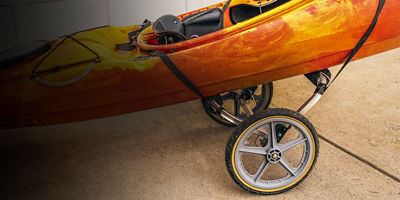
Fishing kayaks are wide and stable, making them easier to get into and out of than other paddlecraft. That also means they’re generally heavier than touring kayaks. Once off your rack or trailer and transported to shore (consider the use of a kayak cart without a paddling partner to help), load it with your gear at water’s edge, making sure everything is secure. To launch, wade it out until it’s floating, then sit on one side and swing your legs aboard. Helpful trick: If you’re boarding from a dock, lay your paddle perpendicular to the boat behind your back, so half is on the kayak behind your seat and the other blade is on the dock (or shore). Then reach behind and grab onto it with both hands, using it to stabilize the craft as you climb aboard. Note: If your kayak has a rudder (or pedal drive), don’t deploy it until you’re in deeper water.
Pedaling
Many fishing kayaks now feature pedal drives (or an option for one), making for hands-free propulsion both forward and backward. Ensure the removable drive “pod” is up before boarding in shallow water, then lock it down once the water is deep enough so the prop doesn’t hit bottom (note: Hobie’s Mirage pedal-drive comes with fins). Control the rudder via a hand lever as you pedal, and disengage the prop when coming back into shallow water. Most pedal-craft have a place to store your paddle as backup. Hint: Use reverse mode when trying to retrieve a snagged lure behind you.
Paddling
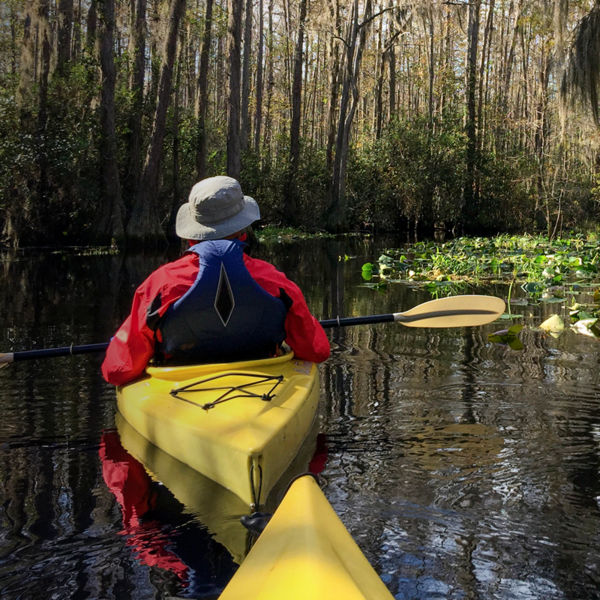
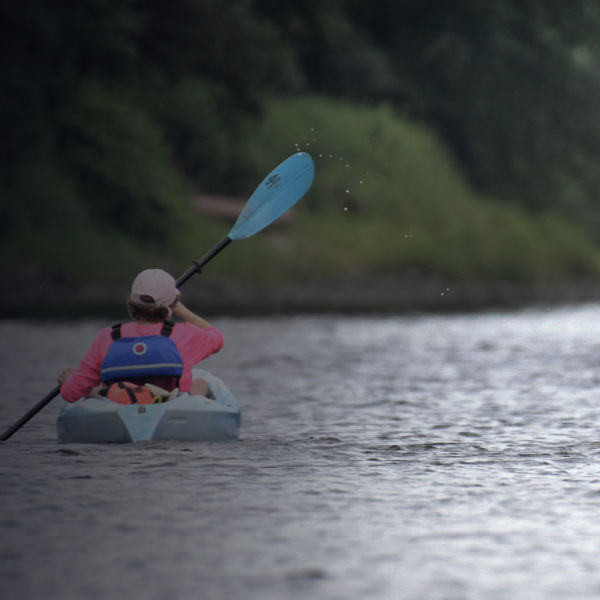
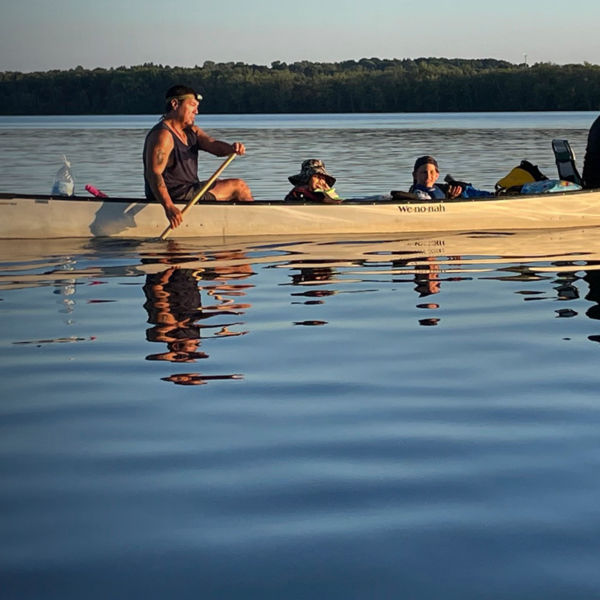
Operating a fishing kayak is the same as any other paddlecraft: Using proper strokes will help you move more efficiently to access your desired honeyhole, especially in wind and current. Hint: Use a paddle leash to secure it when not in use.
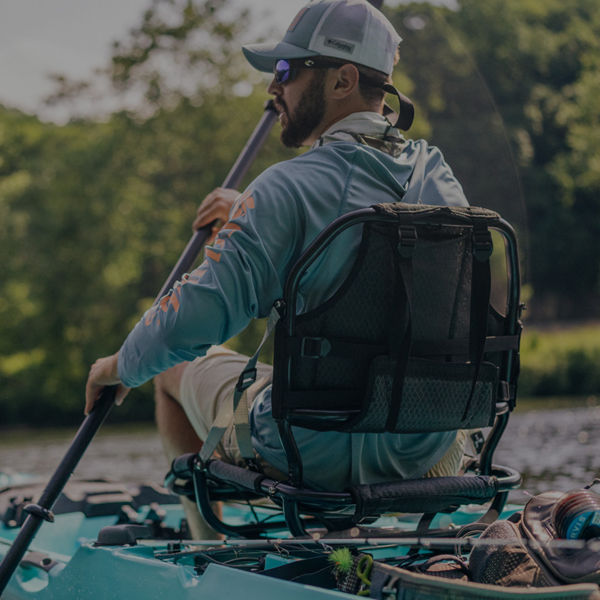
- Paddle grip and posture: Grab your paddle loosely, hands about shoulder-width apart, with the blade’s “scoop” (aka powerface) facing you. Don’t slouch. While many fishing kayaks have backrests (and seat backs designed for all-day comfort when casting), sit up straight, keeping your hips loose and relaxed.
- Forward stroke: Instead of just using your arms, rotate your entire torso for each stroke by twisting at the waist, utilizing your whole upper body, including shoulders, back and stomach. To start, place your paddle blade in the water near your toes, using your torso to help pull it through the water. Take the blade out once it reaches your hip.
- Reverse stroke: Use the same technique as the forward stroke, only in reverse. To stop, slow down or move backward, place your blade at your hip and push gently forward away from your body, twisting your torso. Alternate sides to stay straight when slowing down or backing up.
- Sweep strokes: While many fishing kayaks have rudders for turning, “sweep” strokes help as well. Start as you would a forward stroke by reaching forward and placing the blade in the water. Only instead of pulling it to your hips, keep it near the surface and “sweep” it out away from the side of the kayak, making a wide C shape. Use it on the right to turn left, and on the left to turn right. A reverse sweep will help turn the boat from behind: Plant the backside of your blade at the stern and, rotating your upper body, sweep the blade forward in a C away from the boat, keeping the blade near the surface. Do it on the right to turn right, and left to turn left. Combine this stroke with a forward sweep stroke on the opposite side to turn even faster.
- One-handed paddling: Practice handling your paddle with one hand, which comes in handy when fighting a fish, while still steering to avoid obstacles or negotiate waves or currents. It’s a bit awkward, but try to lock the shaft parallel along your forearm, which helps anchor it as you paddle. Hint: Make quick, short “sculling” strokes along the water surface to help change direction.


