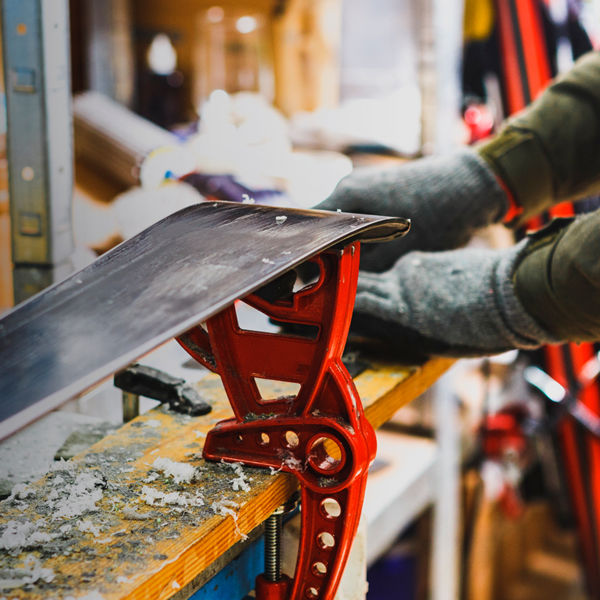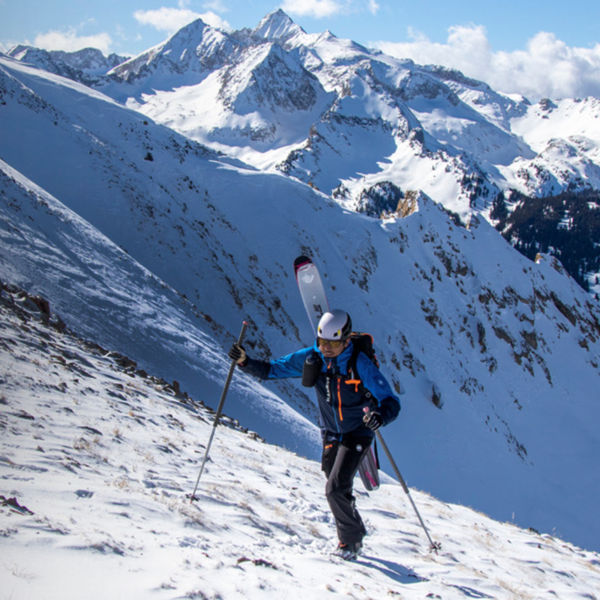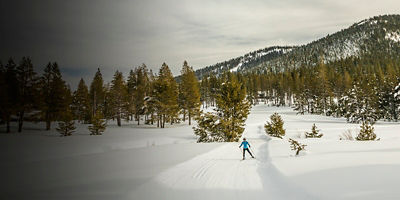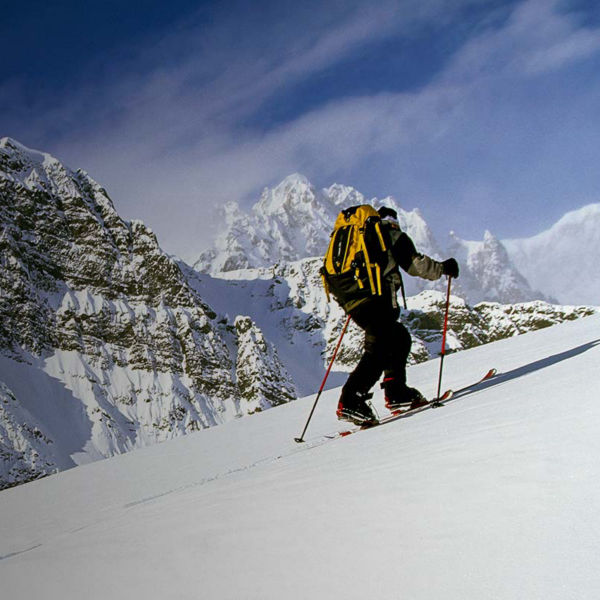
Woman splitboarding in Bohinj treks up hill covered in fresh snow.

Splitboarding 101

Photo: Helivideo

Splitboarding makes it possible for snowboarders to access backcountry terrain, and it utilizes a specialized snowboard that splits into two halves.

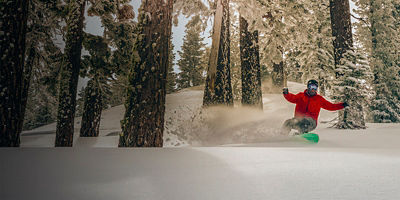
If you're tired of battling crowds at busy ski resorts—and are willing to earn your turns—then splitboarding might be for you. Splitboarding makes it possible for snowboarders to access backcountry terrain, and it utilizes a specialized snowboard that splits into two halves. Once you’ve attached climbing skins to their bases, you use the halves like skis to hike uphill. When you reach the top of the mountain, you remove the skins, reattach the halves, and use the splitboard like a regular snowboard for the descent. Here’s everything else you need to know in order to safely explore the backcountry on a splitboard.

Questions to Ask Yourself

Before venturing out on a splitboard, a few questions can help ensure you’re ready.

Am I a confident snowboarder?

Splitboarding will take you into unfamiliar and challenging terrain. Know your limits and don’t take on a route that’s beyond your abilities.

Have I learned avalanche safety?

Anyone who enters the backcountry needs to know it. Take a safety course, or at least learn the proper avalanche safety techniques, and bring avalanche safety gear like a beacon, probe, and shovel. Always check the avalanche forecast for your area before heading out.

Do I know how a splitboard works? 

Splitboards function and ride differently than a typical snowboard. Familiarize yourself with your equipment and take a test ride or two on groomed trails before you get into the backcountry.

Gear

Splitboarding requires some additional gear compared to snowboarding. Here’s what you’ll need.

Splitboard

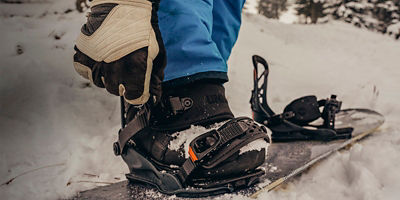
Splitboards come with a variety of systems to change the board into skis and back again. There are also a variety of bindings that flex for walking uphill and lock for turns on the descent. 

Skins

Skins are the fuzzy strips that attach to the bottom of your splitboard. They allow you to slide the halves of your board forward, but they prevent you from sliding backward, so you can grip the snow to walk uphill. Most skins are larger than necessary. You’ll need to attach them to the underside of your board and then cut them to size so there’s no overhang.

Skins are often made with nylon, which is cheap and durable, or mohair, which is lightweight but less durable and more expensive. Look for skins with robust nose and tail clips to help them stay in place.

Poles

Poles give you side-to-side stability during ascents. Opt for collapsible poles that you can easily stow in your pack when it’s time to descend. Look for a three-part pole made of a light, strong material like carbon fiber or aluminum.

Boots

Snowboarding boots have a supportive but flexible design. If you already own snowboarding boots, they should work great for hiking uphill.

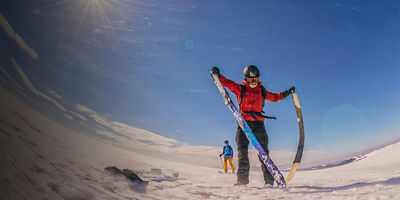
Splitboard halves, trekking sticks and backpack Photo: lilkin

Clothing

Uphill sections are demanding and sweat-inducing, but downhill sections can give you a chill. To be prepared for both, dress in layers.

Base Layers

Both a top and a bottom base layer should wick moisture and breathe to keep you from overheating and getting sweaty. Look for base layers made from materials like merino wool or synthetic fabrics like polyester.

Warm Midlayer

Wear a warm midlayer like a wool sweater or a down puffer jacket over your base layer. Just make sure that it’s easy to remove and put back on.

Outer Layers

Your outer layer, both top and bottom, should be waterproof. Skip the built-in insulation (your midlayer will provide warmth). Instead, look for jackets and pants with plenty of vents—under the armpits, between your legs, and down your sides. These will help you stay cool while hiking uphill but can be closed up to block wind on the descent.  

Gloves

Bring two pairs of gloves—a thin but durable pair for handling your poles on the way up and a heavy insulated pair to keep your hands warm on the way down.

Headgear

A warm winter hat or a baseball cap (depending on the conditions) are good choices for the uphill portion. As always, wear a helmet for the downhill ride.

Backpack

Bring a backpack to store and organize your gear and layers as well as essentials like water and a first-aid kit.

Skills

Here are a few tips to help you splitboard like a pro.

Practice at Home

Your first time putting on your skins or splitting your board should not happen on a mountaintop deep in the backcountry. Practice your skin and board techniques at home before your trip.

Follow Good Etiquette

Especially as a beginner, it’s best to follow established skin tracks when ascending. Stay on the track to climb, but get off to pee. Step out of the way for faster skiers and riders coming up behind you, and don’t play loud music. People want to experience the wilderness, not your dubstep playlist. 

Stand Up Straight

Keep your weight over your feet and your shoulders in line with your hips. This will help you maintain traction and keep you from getting uncomfortably sore. 

Don’t Pull on Your Poles

Keep your poles near you at your sides and your elbows at a 90-degree angle. Use your poles to help you balance left to right. Don’t use them to pull yourself uphill—this can cause you to hunch over, shift your weight, and lose traction on your skins. 

Find a Rhythm 

Try to maintain a consistent rhythm as you head uphill at a pace you can continue to the top: Move your leg and opposite arm uphill at the same time. This will help you power through fatigue and ensure proper pole and board placement. 

Go the Long Way

The fastest route is not always the shortest. When you approach a steep face, see if there might be a more gradual incline nearby—even if it’s a longer distance, it’ll take less effort to ascend and might be faster.

Don’t Be Afraid to Shuffle

When the incline gets steep, turn so you’re perpendicular to the mountain and take small sideways shuffle steps upward. Tilt your splitboard’s edges into the mountain to grip and use your poles to stay balanced and keep from sliding out on the downhill side.

Start Slow Going Down

When your splitboard is put together, don’t forget that it was once two pieces. Go easy on the first few turns to learn the flex and edges of your board. 

All articles are for general informational purposes.  Each individual’s needs, preferences, goals and abilities may vary.  Be sure to obtain all appropriate training, expert supervision and/or medical advice before engaging in strenuous or potentially hazardous activity.

MORE STORIES