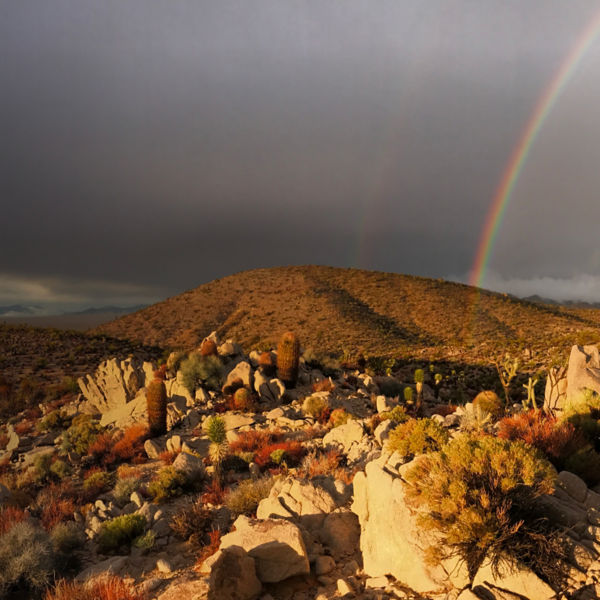
Dispersed camping along one of the BLM roads in Vermillion Cliffs National Monument.

Your Guide to Free Camping

Photo: Jason J Hatfield/Tandemstock

Camping is one of the best ways to unplug and reconnect with the natural world—you already knew that, though.

Did you also know that camping, and all the benefits that come with it, can be completely free? Developed campgrounds with amenities charge a nightly fee, but there are plenty of other places to pitch a tent (or park a camper) that won’t cost you a dime. Such sites are called dispersed campsites, and they offer a whole new level of solitude and wilderness to the prepared camper. Think of dispersed camping like backpacking, but with a vehicle assist—you’ll get access to wilder places than a developed campground offers, but can still haul in your favorite camping luxuries. 

So, what will you find in a dispersed site? Expect scenery, quiet, and not much else. Primitive sites like these won’t have fire pits, picnic tables, showers, running water, or toilets (nope, not even a pit toilet). When you’re staying in a dispersed site, self-reliance is the name of the game.

In this article, you’ll learn:

  • Where to find free campsites
  • How to pack and prepare for dispersed camping
  • Leave No Trace principles for dispersed camping

Where To Find Free Campsites

Where exactly are these free dispersed campsites? You’ll find them on public land, primarily those lands managed by the U.S. Forest Service (USFS) and the Bureau of Land Management (BLM). Sites are usually found just off of the road. Some are easily accessible to passenger vehicles, while others require four-wheel drive to get to. Here’s how to zero in on the perfect spot.

  • Check out maps of your intended destination to find USFS and BLM land. The best maps are the more detailed ones available from the land management agencies, as they’ll show all roads, even the more remote ones.
  • Peruse the area using the satellite layer on Google Maps, or more detailed mapping apps. Zoom in on roads and look for small cleared areas just off to the side—bingo, you found a potential campsite!
  • Call or stop by the relevant USFS ranger district office or BLM field office and chat with rangers about the best dispersed camping spots.
  • Ask employees at a local outdoor store what they recommend. 
Evening summer camping on dispersed land Photo: Anatoliy_gleb

Packing and Preparing for Dispersed Camping

Make sure you pack everything you’ll need for your trip. Don’t forget biodegradable soap and a basin (for washing dishes); a fire pan (if you want to build a campfire): camp chairs and perhaps a camp table; a trowel (for digging catholes, see below); and either a water purification method or enough water to cover all your drinking, cooking, and washing needs.

And even though dispersed camping is much less crowded than campgrounds, some areas are very popular. Get an early start for the best chances of nabbing your favorite campsite.

Best Practices for Dispersed Camping

Getting off the beaten path with dispersed camping offers a wilder experience—do your best to keep it that way for the next person. It’s especially important to know and follow Leave No Trace guidelines for camping lightly on the land. Some of the most important practices are:

  • Look for an established campsite rather than camping somewhere undisturbed. This helps concentrate impact in a smaller area. 
  • If you must camp somewhere outside of an established site, make sure you camp on a durable surface, at least 200 feet away from water sources.
  • If you want to build a campfire (and it’s allowed in the area you’re camping), use a fire pan to prevent damaging the soil and make cleanup easier. 
  • Use biodegradable soap to wash dishes and your hands. Take wastewater at least 200 feet from camp (and water sources) and fling it widely to spread out the impact. 
  • Pack it in, pack it out: Make sure you take all trash with you for disposal. 
  • Use a cathole when you have to poop. Go at least 200 feet from camp and water sources, then dig a hole at least six inches deep. Squat over it (holding on to a nearby tree can help with balance). When you’re done, fill in the hole and do your best to make it look like you were never there.

All articles are for general informational purposes.  Each individual’s needs, preferences, goals and abilities may vary.  Be sure to obtain all appropriate training, expert supervision and/or medical advice before engaging in strenuous or potentially hazardous activity.

MORE STORIES